We may earn a commission when you purchase through affiliate links. Learn more.
Taking great photos can be tough to do even on a perfect day. Add some snow into the mix, and it’s really easy to end up with photos that are overexposed, underexposed, or just plain bad. With these snow photography tips up your sleeve though, you’ll be able to take great shots outside. For tips on keeping your camera working in chilly winter weather, be sure to check out our cold weather photography tips too!
Tip 1: If Your Camera Gives The Option, Shoot In RAW
If your camera allows you to shoot in RAW, it’s always a good idea, and especially so when you’re shooting in the snow. Jpeg might work just fine for quick and easy snapshots, but in tricky lighting conditions like you’ll find in the snow, RAW gives you a lot more to work with if your photo is underexposed or overexposed.
When you shoot in Jpeg, your camera processes the photo quickly using its own algorithms that choose what it thinks the right brightness, contrast, sharpness, and many other exposure components are. Your camera throws away the information from the camera’s sensor that it doesn’t use, leaving you with a smaller final file size.
When you shoot in RAW, your camera preserves all of the sensor information and it’s up to you to process the image later using image editing software. This is more time consuming, but if your exposure isn’t absolutely perfect (and it’s really tough to have a perfect exposure in the snow), a RAW file will let you correct the shot to a greater extent.
Tip 2: Pay Attention To Your Camera’s Histogram
When you’re shooting snowy scenes, it is incredibly easy to overexpose your photos. A great built in feature of your camera can come to the rescue though, and it’s called the histogram.
The histogram graphs the bright and dark tones in your shot and can tell you when you’ve got areas in your photo that have blown highlights or details lost in the dark shadows. To learn how to properly read a histogram, check out this tutorial.
Tip 3: Get To Know Your Metering Modes
Unless you’re shooting on fully manual mode, your camera determines the appropriate exposure for your scene based upon different algorithms called metering modes. Some metering modes calculate exposure using the light information from just the center of your scene, while others take the entire scene into consideration. Because snow is so white and bright, it’s really difficult for a camera to meter properly, and the default metering mode on most cameras will result in the snow being a washed out grey, instead of white.
If you’re trying to photograph your subject like a person or animal against the snow and want the subject to be properly exposed, your best bet is to use Spot Metering mode, which will take a light reading from just a single, small focus point. The downside to metering for your subject is that the snow will most likely be overexposed.
If your frame consists mostly of snow, you can leave your camera set to its default setting of Evaluative Metering (some cameras refer to this as Matrix Metering or Multi-Zone Metering) and add some positive exposure compensation to prevent the camera from underexposing the snow. You can learn more in our guide to photography metering modes.
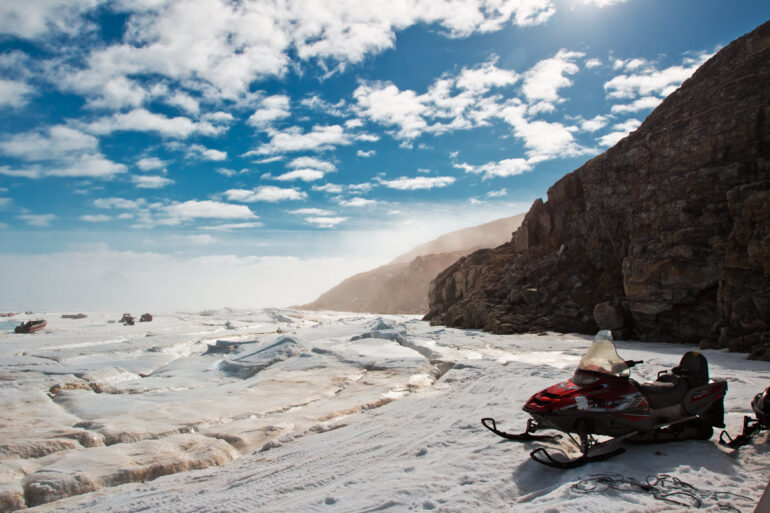
Tip 4: Use A Lens Hood
Because the snow reflects so much light, it’s easy to end up with unwanted lens flare in your photos. You can prevent this by using a lens hood with your lens — basically a black plastic visor that keeps unwanted light off your lens and out of your photos. If it’s exceptionally bright outside and you’re seeing bright light entering the corners of your frame, you can shade your lens even more by cupping your hand around the lens hood — just make sure none of your fingers get in the shot!
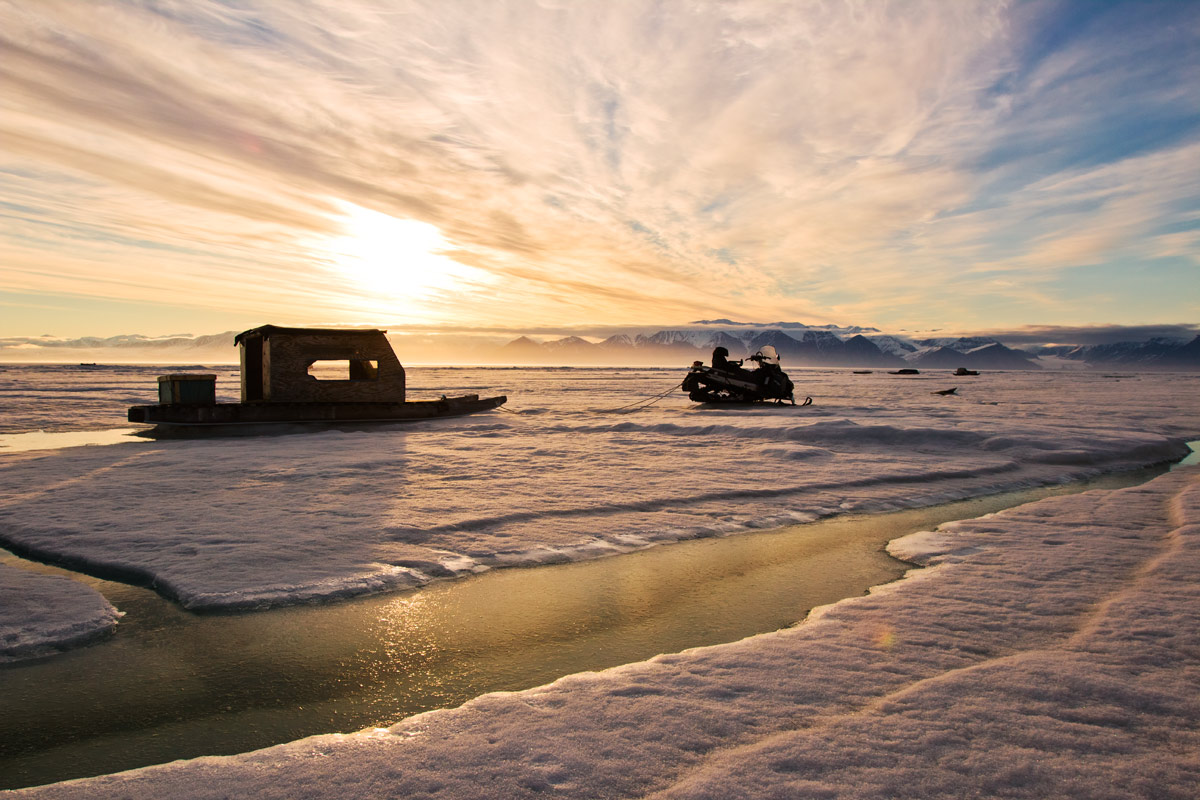
Tip 5: Shoot During The Golden Hour
Because the snow is so reflective, why not put this to use by photographing it in different lighting conditions? Try shooting in the early morning and late afternoon just after sunrise and before sunset to take advantage of the golden hour, a time when golden light can turn the stark white snow into a warm oasis of color.