We may earn a commission when you purchase through affiliate links. Learn more.
In order to figure out the right exposure to use, digital cameras use a process called metering to measure the lighting conditions. Nice even lighting conditions without any overly bright or dark areas usually means that most cameras can meter a scene very well, but the more confusing a scene gets with multiple light sources and areas of bright highlights and large dark shadows, the tougher it can be for the camera to figure out.
In the following four shots, we’ll see how each of the metering modes produces a slightly different result when photographing the same scene. You can make use of these metering modes to give your camera a helping hand when it comes to determining which exposure settings it uses when you’re not shooting in manual mode.
It’s a common misconception that changing the metering mode changes how the camera’s sensor works, but in fact a metering mode change only affects how your camera sets the exposure variables. When you’re using manual mode and setting the exposure variables yourself, changing the metering mode won’t change your exposure at all. That said, your camera’s meter will still function on-screen and through the viewfinder, showing you whether it thinks your scene is over or underexposed. In manual mode, you can choose to use its recommendations or disregard them.
[new_royalslider id=”6″]
In the example shots above that demonstrate how each of the four metering modes calculate exposure, we’ve got a scene that is lit from a light above the lens, a table lamp behind the Canon 85mm f/1.8 lens and a very bright window behind that — not an easy scene to meter, with so many lighting sources and reflective objects. Many cameras use the first metering mode; evaluative or matrix metering as the default, and in this case it has probably done the best job of properly exposing this image, although center weighted average metering has done a very good job as well.
Different situations call for different metering modes, and in this tutorial we’ll go over how each metering mode works and what situations it would be best used for your photography. Even if you shoot in manual mode which I prefer most of the time, you’ll still be able to use your metering-mode knowledge, since the camera’s meter reading can be useful for making exposure decisions yourself, particularly when you don’t have the time to experiment with several exposure configurations.
If you are shooting in manual mode though, be aware that changing the metering mode only changes how the camera’s light meter sees the scene — it doesn’t change any exposure variables for you — you’ll need to adjust the ISO, shutter speed, or aperture based upon whether your camera’s meter is telling you.
[alert type=blue ]As we go over each type of metering mode below, you can slide your mouse to the left over each example photo to see how what areas of the scene the camera would use for each mode to calculate the ideal exposure. [/alert]
Evaluative Metering / Multi-Zone Metering / Matrix Metering
Evaluative or Multi-Zone metering mode is the preset metering mode on many digital cameras and uses light meter readings from a variety of points around the frame. The camera evaluates the light readings from these various points as well as other image details like the distance to the subject and the focus point and applies a unique formula for calculating the exposure. Some cameras produce better results when using this mode than others, since the number of points evaluated and the methods applied varies among camera models and brands.
Especially when using natural lighting, this is usually going to be the ideal metering mode to use for your photography. Using Evaluative or Matrix Metering allows the camera to evaluate the lighting conditions in the the front and back of your scene as well as how your subject is lit. Using all of this information collected from the entire scene, it calculates what it thinks the correct exposure should be. If there are any exceptionally bright or dark areas in your scene though, you may find that using this metering mode will result in overexposed or underexposed images.
[dv name=’evaluative_metering’]
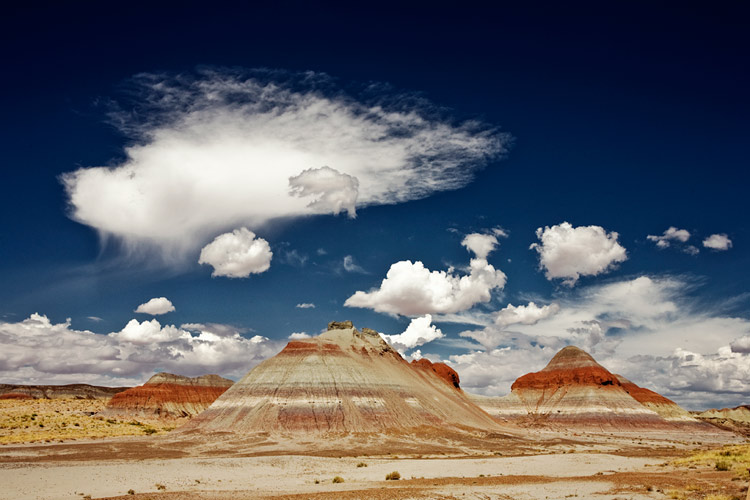
In our example shot above of a landscape photo taken with a Canon 5D and Canon 16-35mm f/2.8 L lens, you can see that using evaluative metering mode would allow the camera to use the entire scene to calculate the proper exposure. Since the scene is evenly lit with no especially bright or dark areas and the is sun positioned out of the frame, evaluative metering would give the most accurate meter reading. If the sun was in the corner of the shot however, we might want to consider using a different metering mode; perhaps center weighted which we’ll go over shortly.
Spot Metering
The Spot Metering mode only measures the light from one small spot in the frame — generally the center focus point. This is a great mode to use when photographing high contrast scenes with areas of bright highlights and dark shadows. Spot Metering Mode tells the camera to discount the light and dark areas in the rest of the scene and only take a reading from this small spot, so that the camera bases the exposure off of your subject. Even though it’s similar to Partial Metering Mode, Spot Metering Mode analyzes an even smaller percentage of the scene, so this mode is perfectly suited for tiny subjects set against a bright or dark background.
Be aware that using Spot Metering Mode can cause your background to be severely overexposed or underexposed if the background lighting is very different from the lighting on your subject. If getting a properly exposed subject at all costs is your goal though, Spot Metering Mode is likely the best choice if Partial Metering Mode analyzes too much of your scene.
[dv name=’spot_metering’]
In this example photographed with a Canon T3i and Canon 16-35mm f/2.8 L lens, we’ve got a subject that’s heavily backlit. In order to get a properly exposed shot of our subject without ending up with a silhouette, we’re going to use spot metering to use a small light reading from our subject to calculate the exposure. We end up with an overexposed background, but with a scene like this with the sun directly behind the subject, there’s no way to avoid that if we want our subject to be properly exposed. Using spot metering ensures that the camera uses the lighting information from our subject to calculate the correct exposure rather than paying attention to the very bright background or much darker rocks.
Partial Metering
Found on Canon DSLR cameras, Partial Metering is similar to Spot Metering, but meters approximately 10% of the frame around the center, so this mode works a bit better for larger subjects which are backlit or lit differently than the background. This mode should be used when the background is bright or dark and would otherwise cause an improper metering of the scene. Like Spot Metering Mode, Partial Metering Mode can come in handy if you want to prevent a silhouette that you might get when using Evaluative Metering or even Center Weighted Metering with a subject that’s backlit.
[dv name=’partial_metering’]
In this long exposure photo taken with a Canon T3i and Canon 16-35mm f/2.8 L lens, we can see how Partial Metering might be the ideal metering mode. Even though the light is falling at sunset, the sky is still much brighter than the foreground, and to ensure that the rocks in our foreground don’t become a dark silhouette, Partial Metering mode could work well to prevent them from being especially underexposed.
Center Weighted Metering / Center Weighted Average Metering
Center Weighted Metering mode measures the light from your entire scene but gives the most consideration to the center of your shot, giving the center preference when it averages the light from the whole scene. This mode is great to use for portrait photography, when your subject takes up most of the center of the shot, but you still want the camera to be aware of the background.
[dv name=’center_weighted_metering’]
In this fashion portrait, taken with a Canon 1DS and Canon 85mm f/1.2 L lens, we can see how using Center Weighted Metering would work well. Because we’ve got a very bright area of background highlights in the top left corner, we don’t want this corner section to affect the overall meter reading; but we do want the background and the subject to be properly exposed. Using Center Weighted Metering lets the camera evaluate the center area of the photo, in this case our model’s face, while still taking some of the rest of the scene into consideration resulting in a well-exposed shot.