We may earn a commission when you purchase through affiliate links. Learn more.

The allure of landscape photography has enchanted photographers and audiences since the early days of the art form. In fact, the oldest surviving photograph, by Joseph Nicéphore Niépce — perhaps one of the first photos ever taken, captures the view from a window looking out at his estate in France. Ever since what was possibly the very first attempt at landscape photography, this art has not only captured the beauty of the natural world, but also inspired people to take steps to protect the great outdoors.
In the United States for instance, Civil War veteran, painter, and geological survey photographer William Henry Jackson’s photographs of the American West brought distant wonders and spectacles of the landscape like the towering Teton Range, the geysers and hot springs of Yellowstone, and the Rocky Mountains to the forefront of the American imagination. Jackson’s images of what is now Yellowstone National Park encouraged Congress to name it as the very first National Park in 1872.
Other notable photographers like Carleton Watkins, Philip Hyde, and Ansel Adams continued to bring the wilderness into the public consciousness, inspiring city dwellers to seek out and protect the glorious solace and splendor of nature for future generations. While these photographers had to work with the bulky, awkward photography equipment of their time, landscape photographers today are fortunate to enjoy not only easier access to many of the world’s most scenic areas, but also advanced camera gear that makes landscape photography both an approachable pastime and a profession for so many.
Here are 10 tips to help you continue the landscape photography legacies of the masters! For newcomers to landscape shooting, be sure to check out our list of 10 of the best books for learning about landscape photography.
1. Light is the essential ingredient in landscape photography
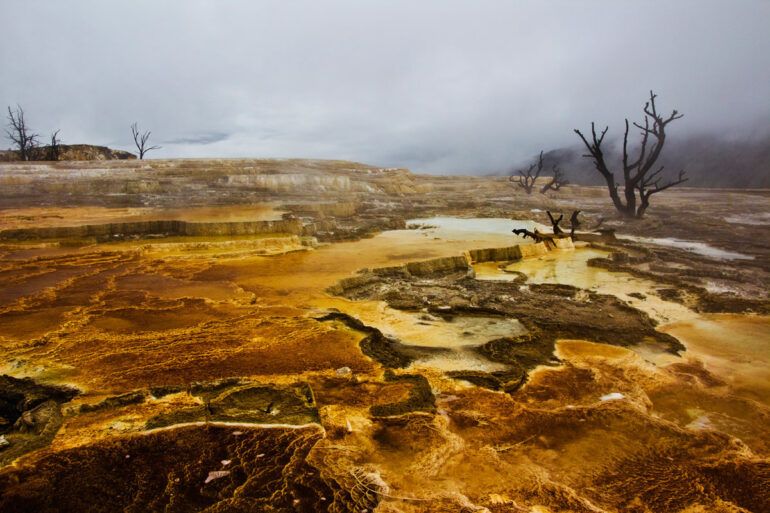
There’s a reason the name of this website is It’s Just Light! Light is the most important ingredient when it comes to photography, and with landscape photography, it’s especially so. There’s no one particular ideal time of day for landscape photography, but with experience will come a better understanding of how to utilize particular types of light to better craft an image that expresses your style and vision.
Although great landscape images can be taken during the middle of the day, the soft, golden light of early morning and early evening before sunset is often a favorite time for many landscape photographers. Landscape photography masters like Ansel Adams utilized light and shadow to draw the viewer into the scene. The book Ansel Adams: 400 Photographs, is a well curated resource of some of his finest work to draw inspiration from – it’s one of my personal favorites!
2. Shoot in RAW
This is a piece of advice that you see A LOT, both on this website and on other photography websites. If you’ve seen it dozens of times and already shoot using RAW, just disregard this tip. There’s a reason everyone keeps repeating this advice over and over…and that’s because it is not only good advice, but it’s also something that a lot of new photographers don’t do. Even many compact cameras and smart phones are now offering support for RAW image capture, so it’s no longer a feature you’ll find only on more advanced cameras.
If you aren’t shooting RAW yet, here’s a quick rundown. At the heart of a digital camera is the sensor, which records light information from millions of tiny pixels. To produce an image, this information needs to be processed — when shooting JPEG, the camera uses presets to adjust numerous image settings like sharpness, contrast, saturation, and noise reduction on the spot, compressing the resulting file into a JPEG image that you can use for printing or web uploading right away without ever needing to make use of image editing software.
RAW, on the other hand, preserves much more of the image information, requiring the photographer to adjust things like exposure, contrast, white balance, etc. and allows for some detail recovery in areas of highlights and shadows that would be unrecoverable in a JPEG file. While these added steps in processing are more time consuming, the greater latitude for making adjustments and corrections is worth the effort and additional file size! Even the ability to adjust white balance without affecting image quality is a worthwhile reason to switch to RAW if you haven’t already.
3. Capture the must-see landscape spots…and then search for new vistas
In a world filled with cameras and photographers, it can seem like there are no places left unphotographed. Certainly, when it comes to the “essential” landscape mainstays around the globe, it can feel that way, but with every photographer comes a unique stylistic approach to seeing that location. Get those gotta have shots, in your own special way, and then go in search of the less visited areas.
You’ll find that crowded trails often become less crowded after a mile or two, and while the famous overlooks and vistas are crowded with tripods, the more remote areas are often empty, but no less beautiful. Don’t leave it up to a map to tell you what constitutes a scenic overlook!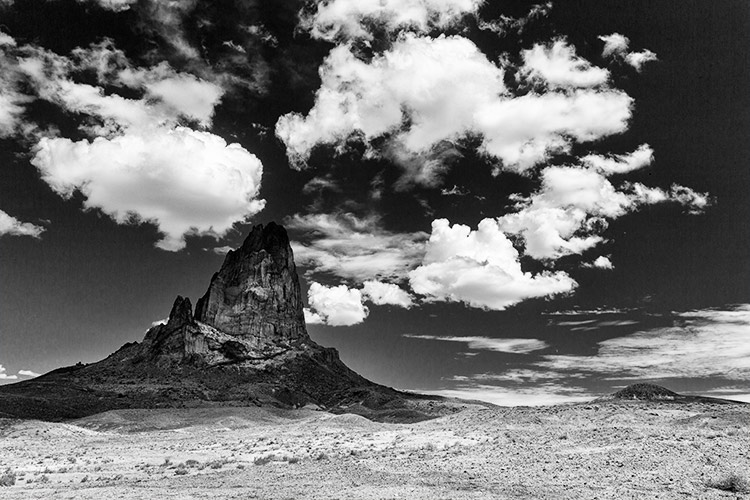
4. Don’t let your gear hold you back
There are some great landscape photographers today shooting with nothing more than smart phones. This is not only a testament to the incredible advances in technology we enjoy today, but also to the creativity of the photographers who manage to capture breathtaking photos with simple gear.
While many landscape photography pros choose full frame camera bodies like the Canon 5D Mark IV, Sony a7R II, and Nikon D810 paired with ultra-wide angle lenses, you can still shoot great landscape images with just about any digital camera. Even if you’re using an affordable entry-level DSLR or mirrorless camera of any kind, you’ve got everything you need to take great landscape photos (as long as you have a decent lens, of course). I like to advise new photographers to only upgrade their equipment if they’re really finding themselves limited by their current gear. Don’t upgrade just because you think that your photos will look better if you use a more expensive camera — often, all you need to improve your landscape photography is just more practice and a better post-processing routine to make the most of the RAW files your camera is producing. Since landscape photography typically doesn’t involve shooting wide-open with fast maximum apertures, even cheaper kit lenses often work perfectly for shooting landscapes.
While wide angle lenses like the Canon 16-35mm f/2.8 L III certainly make it easy to photograph expansive scenic vistas in a single shot, clever photographers can adapt their photography workflow to make use of what they’ve got. For instance, even if you don’t have an ultra-wide angle lens and only have a 50mm lens, you can achieve similar results by shooting a few frames of a scene in a horizontal sweep and using software like Adobe Photoshop CC to quickly stitch them together into a wider panorama. Even when wide angle lenses are available, I often like to utilize this option to create even higher resolution images with incredible detail.
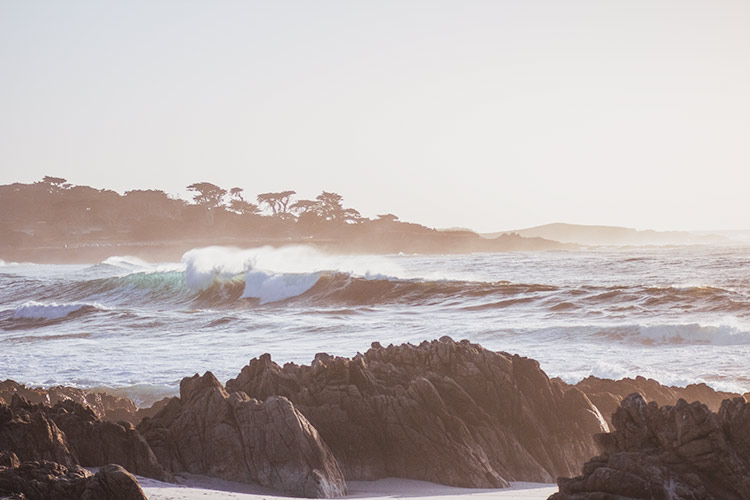
5. Pack a polarizing filter
When it comes to landscape photography, there’s probably no filter that is quite as useful as a circular polarizer. Depending upon the angle of the sunlight, these handy filters accomplish multiple things — darkening the sky, boosting contrast and vibrancy, and reducing glare and reflections from all kinds of reflective surfaces like snow and ice, water, and even objects which you don’t normally think of as especially reflective like leaves and rocks. To achieve the effect you want, rotate the filter slowly. To get incredibly vivid, deep blue skies, you’ll want to shoot at about a 90° angle from the sun’s position in the sky, making this a useful filter when shooting in the middle of the day.
6. Give your viewer a sense of scale
Landscapes can be pretty monumental in scale, and this is one quality that can be quite difficult to capture in an image. Including not only interesting background elements but also an interesting foreground and middleground elements can help to convey scale and a sense of depth that really makes a landscape photo stand out. Wildlife, human elements, trees, flowers….these are all elements that you can consider including in your composition that help to draw the viewer in.
7. Consider including a human element
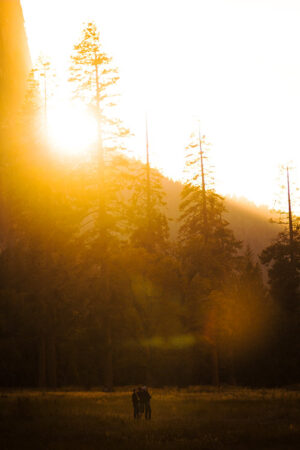 This isn’t for everyone — some people like their landscapes unadulterated with any sign of people, giving the appearance of total seclusion and wilderness. Many other photographers use the human element to forge a connection with the viewer. Not only can human elements add a very quantifiable sense of scale, but including a person, cabin, bridge, tent, etc… can help to elicit feelings of wanderlust and a strong desire to experience the mood and magic of the scene.
You’ll often find that landscape photographers shooting for lifestyle brands make use of this technique to really appeal to the audience. Photos of empty beaches and wild mountain peaks are beautiful as is…but photos of empty beaches with a lone surfer walking at sunrise or mountain peaks with a backpacking tent and campfire crackling in the foreground really help the viewer to imagine themselves there.
8. Remember the rule of thirds…but remember that you can also ignore it
For new landscape photographers especially, the rule of thirds is worth considering when composing each shot. Basically, two vertical lines and two horizontal lines split the frame into 9 parts of equal size. This composition guideline suggests artists and photographers place their subject near where two of these lines intersect, providing the most visual impact.
Using this guideline, horizontal elements like shorelines and horizons are best placed along one of the horizontal lines, rather than in the center of the image, and vertical elements like trees are best placed along one of the vertical lines. It’s a common habit of beginning photographers to place their subject right in the center of the frame, but although this sometimes looks best, it’s often worth experimenting to see if an off-center composition utilizing the Rule of Thirds might be a better option. To help yourself learn and grow as a landscape photographer, try shooting multiple variations of the same scene using different composition techniques to see which provides the best impact.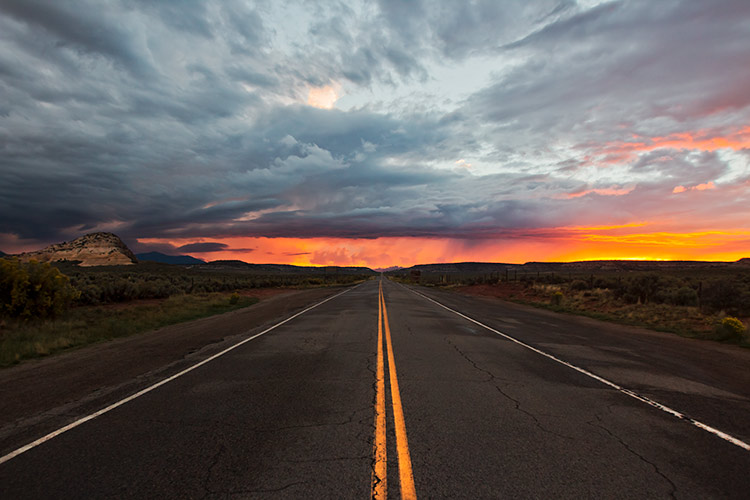
9. Make use of leading lines to bring your viewer into the shot
Leading lines are a very effective tool that landscape photographers can often utilize to draw the attention of their viewer into and even out of the shot. Elements, both natural and manmade like rivers, trails, bridges, roads, and more that travel through a scene in a linear type fashion can be used to lead the gaze of your audience into the scene and towards your subject or out of the scene.
Not every great landscape photo makes use of leading lines, but when you’re out in nature photographing a scene, you should do your best to be mindful of your surroundings, taking note of any elements like leading lines that you might use to create a more compelling photo. Even areas of shadow and light can be used as leading lines – if you study the work of Ansel Adams, a master of using leading lines of both light/shadow and of physical features like roads and rivers, you’ll find that he made excellent use of lines to pull the viewer’s gaze towards the main focal point.
10. Mood matters in landscape photography
Something which truly distinguishes many landscape photographers is their ability to not only capture the natural beauty of the scene, but to also impart a sense of mood on the viewer. Photographing “mood” is no easy task — there’s no easy setting to ensure your viewers get a sense of the right emotion when looking at your shot, but with practice you’ll develop a sense of mindfulness that allows you to take mental note about the properties of a scene that make you feel a certain way while photographing it.