
We may earn a commission when you purchase through affiliate links. Learn more.
Whether you’re snorkeling in the shallows or SCUBA diving down to a shipwreck, spending time underwater is a magical experience. Like all magical experiences, photographers naturally feel compelled to immortalize the memory with photos. Just like all of the unique niches of photography, underwater photography brings its own set of challenges and rewards, and hopefully these 10 underwater photography tips will help you make the most of your time in the water!
1. Practice in the Pool
It might sound silly, but if you’re just getting started with underwater photography, it pays to practice in a shallow environment where there’s no pressure to nail those perfect shots right away. You can experiment and find out what your camera’s limitations are and learn how to change the settings without worrying about getting that once in a lifetime shot of a tropical fish swimming by.
If you’re using an underwater housing to keep your camera safe and dry, it’s always a good idea to make sure the housing is waterproof before you put your camera inside. Even with waterproof cameras, it’s important to make sure that any battery doors are completely sealed and that all seals are free of grit or sand which might compromise the watertight seal.
 2. Get Close to Your Subject
It’s almost always a good idea to get as close as possible to your subject underwater, especially if you’re shooting with a camera that uses a wide angle lens like the GoPro HERO5 Black, Olympus TG-Tracker, and Sony AZ1 Action Camera. Cameras like these with wide angle lenses make it easy to capture big subjects within a single frame, but this wide angle of view also means that if you want to capture the fine details of a smaller subject like a fish, you’ll need to get really close!
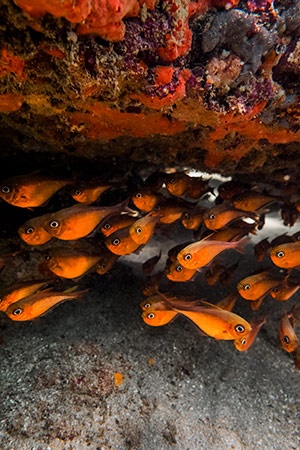
3. Get Next to those Fish!
When shooting underwater photography, you’re typically going to want to get next to or even slightly below your subject to help isolate it from the background clutter of the bottom. Don’t feel like you can never shoot straight down, but just keep in mind that a good composition tends to favor simplicity, and shooting from the same level as the subject helps to limit the distractions in your photo.
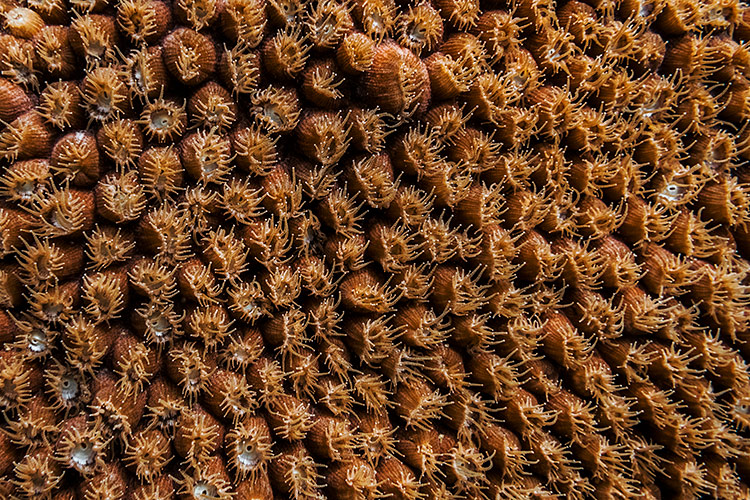
4. …But Don’t Harass the Sea Life
Some underwater creatures don’t seem to mind being photographed up-close, but others can be pretty camera shy. Don’t be that underwater photographer who chases an endangered sea turtle all over the reef, exhausting it and stressing it out. Underwater photography is all about showcasing the beauty of the natural world, so it’s important to be a good steward of the underwater world and remember that even if its just you and your dive buddy around, ethics still matter. If you’re photographing on a coral reef, do your best to remain neutrally buoyant and avoid touching coral — it can take many species of coral generations to grow a small amount and even the slightest damage can be catastrophic. If your neutral buoyancy skills aren’t that good, don’t worry – it’s a tough thing to master. Additional instruction like advanced open water certification and more in-the-water practice will help.
5. Photograph in Bright Sunlight
Photography is all about light, and light is one thing that can be in pretty short supply underwater. At just 10 meters below the surface in very clear water, 3/4 of the visible light has already been reduced. Just like photographing on land, when you’re underwater having more light enables you to take better photos, giving you the freedom to keep your ISO speed low, use a faster shutter speed to freeze any action, and use a smaller aperture to bring more of a scene into focus.
Advanced underwater photographers make use of specialized strobes and powerful video lights to brighten the underwater realm, but for most hobbyists and newcomers to underwater photography, the easiest way to get good photos without spending lots of money on more gear is to photograph in bright, sunny conditions.
[dv name=’underwater_white_balance’]
Tap this image to reveal the before and after.
6. Why is Everything Greenish Blue?
When it comes to colors underwater, red light penetrates the water even less than other colors with shorter wavelengths and by 10 meters, nearly all of the red and orange light has been absorbed. With shorter wavelengths, blue and green light can pass through the water to much greater depths, so you’ll notice that everything looks bluish-green when you’re underwater and this extends to the underwater photography you take.
Learn more about why underwater photos look bluish-green the deeper you go, and how you can reveal the natural colors in your photos in this guide: Why Do Underwater Photos Look Green?.
7. Move Slowly
Not only are underwater marine creatures likely to be more startled by quick movements, you’ll get much sharper images if you try to keep as steady as possible while taking photos underwater. As with any low light environment, the more motionless you are while taking a photo, the better your shots will turn out. This is especially true with action cameras and underwater point and shoot cameras that may not offer you any manual exposure control to set the shutter speed yourself.
SCUBA diving makes remaining neutrally buoyant and motionless in the water while you take a photo relatively easy with some practice, but for snorkelers and free divers who must first descend from the surface, it can take more effort to remain still. Remember not to grab onto live coral to stabilize yourself — not only can you be stung, but you can also damage the very slow growing and fragile coral.
Neutral buoyancy while freediving or SCUBA diving requires proper weighting, both of yourself as a diver and of your gear too, since many underwater camera housings are positively buoyant and will require more effort to hold in position without being weighted.
8. Compose with Care
Just because you’re underwater doesn’t mean that the concepts of good composition go out the window – compose carefully and keep the subject placement, foreground, and background in mind. Trying to photograph a brown fish? If it’s swimming in front of a brown rock, your shot isn’t going to have much contrast, so you might try photographing it from an angle that places it against the blue water instead.
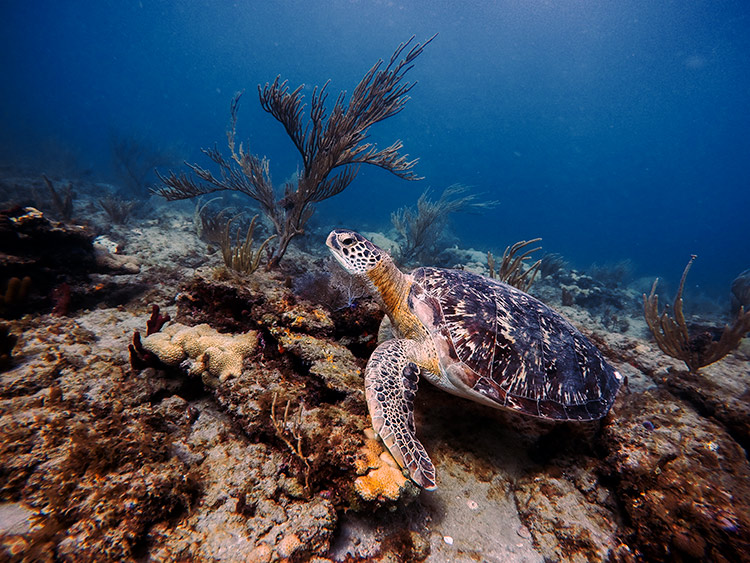
Try to consider whether a vertical or horizontal composition will better suit what you’re trying to photograph. Does your subject placement make sense? For instance, in the examples below, you’ll notice that the photo which gives the turtle room to keep swimming forward through the scene is more visually pleasing.
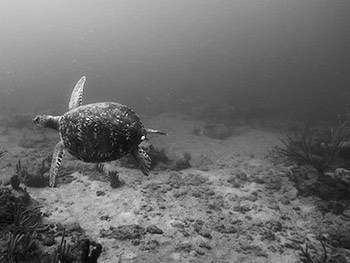 Composition = Poor
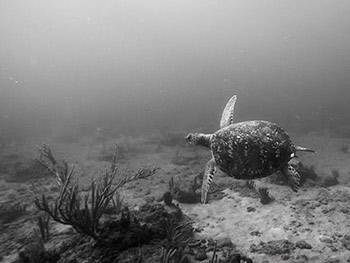 Composition = Much Better