We may earn a commission when you purchase through affiliate links. Learn more.
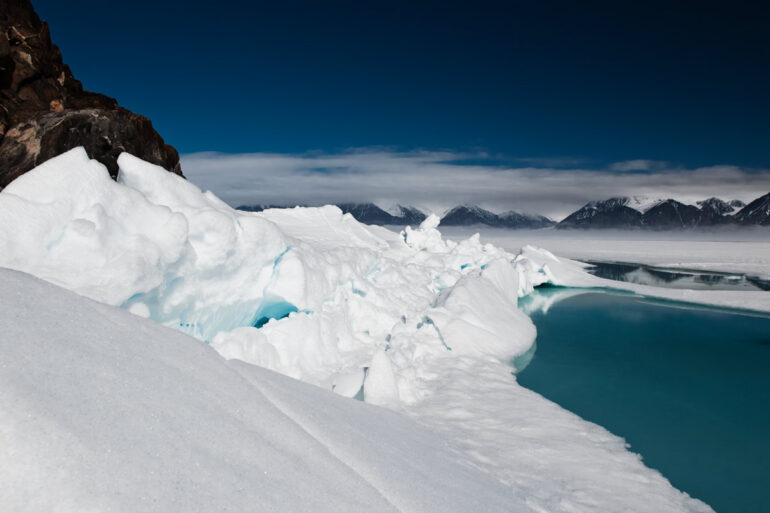
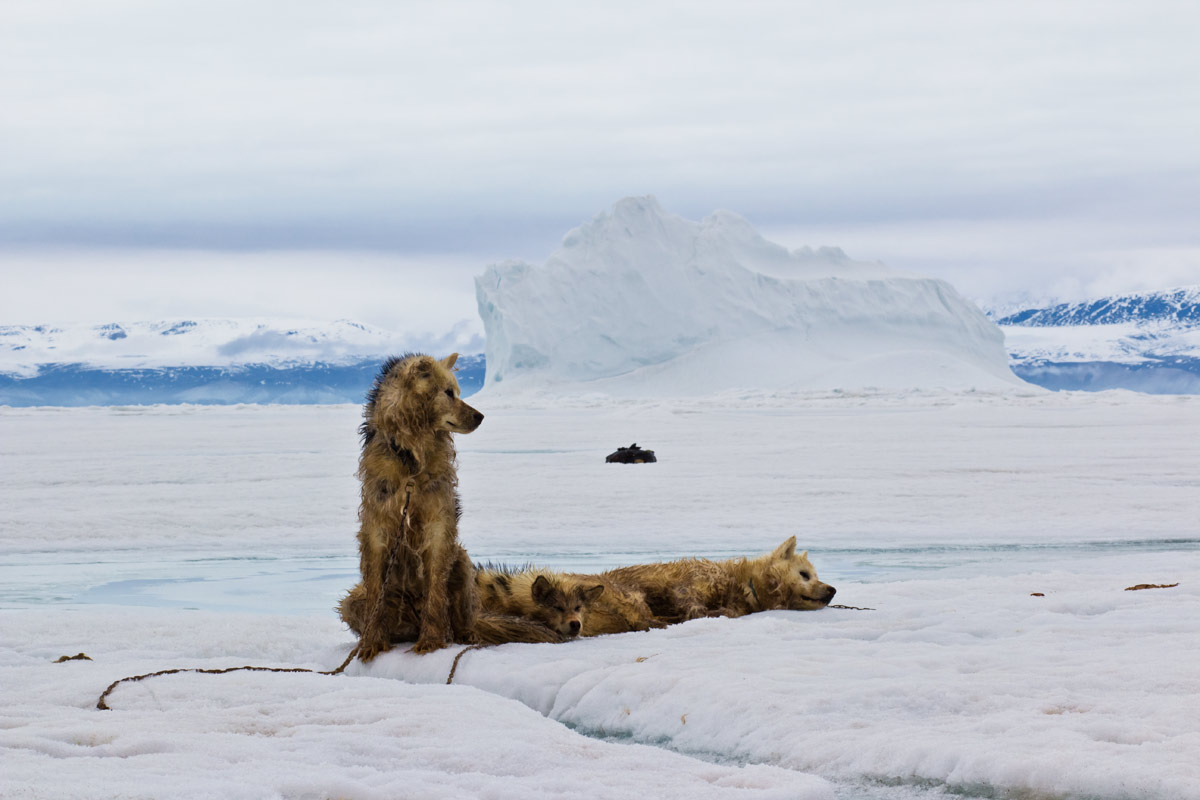
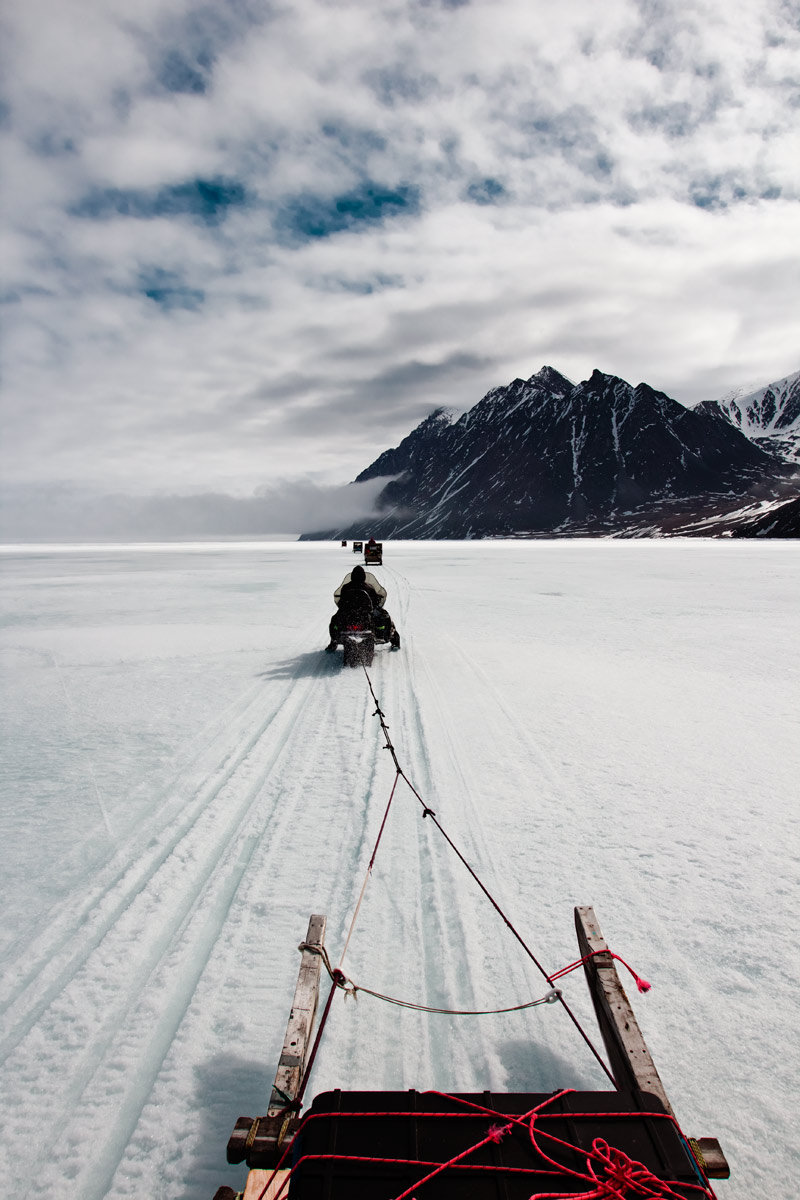
Cold weather might keep some people indoors, but photographers know that with every season comes new photography opportunities! Stark landscapes, winter skies, and snow and ice can certainly make for some beautiful photos, but cold weather photography requires a bit of planning and preparation. Whether you’re traveling to the Arctic in search of narwhal and polar bears or simply heading out on a snowy day in your own town, these cold weather photography tips will help you make the most of the chilly weather! For practical tips on capturing great photos in the snow, be sure to check out our snow photography guide too.
Cameras in Cold Weather
While many gear lovers out there are quick to recommend weather sealed cameras like the Canon 5D Mark IV, Nikon D4s, or Pentax K3 II to those looking for a camera that will work well in cold environments, the truth is that with a bit of care, virtually any camera will work in the cold. Weather sealed DSLR cameras like the models mentioned above and compacts promising to be freeze-proof like the Sony DSC-TX30 or Olympus TG-5 are definitely useful in adverse conditions, but even inexpensive entry level DSLR cameras and point and shoots can still be used with great success in cold climates. While extreme cold like you might find while climbing Mount Everest in a blizzard or trekking to the South Pole can cause LCD screens to be sluggish and even freeze, most cameras should be able to continue operating in cold temperatures. Keep cool, and read on…
Camera Batteries in the Cold
While cold weather shouldn’t prevent your camera from working, how your camera batteries perform in cold weather is another story. Cold temperatures slow down the current producing reactions, meaning that batteries will run down more rapidly, often resulting in photographers only being able to shoot half as many photos with a fully charged battery as they might be able to in warm weather. To extend the life of your camera battery in very cold weather, keep the batteries warm in your coat or jacket pocket. In extremely cold temperatures, especially when you’re going to be far away from an electrical outlet, be sure to bring several spare batteries & keep them fully charged and in a pocket or other warm spot when not in use. It’s not a bad idea to keep one battery on the charger inside, so that you always have a freshly charged battery ready to go when you need it.
Lithium batteries are commonly used for most digital cameras these days, and fortunately these are the least affected by cold temperatures. Still, even when using lithium batteries in cold weather, you shouldn’t count on them to last as long as they would on a warm spring day.
Graduated Neutral Density Filters
Graduated Neutral Density Filters are the tool of choice when you don’t need to reduce the brightness of every part of your scene. As their name suggests, these filters have a gradual distribution of darkness, with one half of the filter being darker and the other half being transparent, with a gradual area in between. Graduated ND filters can be especially useful in the winter, when grey, washed out skies can be very easy to overexpose. A graduated neutral density filter or Grad ND does the trick, allowing us to selectively darken part of the scene. While these filters come in the circular variety, you’ll have the most flexibility with square graduated neutral density filters which will let you position the darker part of the filter where you want it, rather than directly in the middle of the lens.
Circular Polarizing Filters
A circular polarizer is a great filter to add to your cold weather photography gear bag and if you’ve got a pair of polarized sunglasses, you’ve already seen the effects this filter will offer. During the day, much of the sun’s light is polarized, and for photographers this means we’ll see lots of glare from reflective surfaces. A circular polarizer increases contrast between the sky and the clouds and cuts glare on water and glass as well as increasing the overall color saturation of your photo. A circular polarizing filter won’t help much on an overcast day when you can’t see any blue sky to begin with, but it can really improve a scene on bright days, resulting in deep blue skies that can really pop against white snow. Because each of your lenses will likely have a different filter thread size, buying a circular polarizer filter is not a one size fits all deal; you’ll need to check which size you need for your lens.
If you’re working with a tight budget, one option is to purchase a filter that fits your largest lens and then buy step-up ring filter adapters to adapt that single filter to each of your other lenses.
Dealing with Condensation and Moisture in Cold Weather
 While the power output of a battery can be extended by keeping it under your winter coat, avoid keeping your camera under your coat. The real enemy of cameras in cold weather is moisture, often in the form of condensation which can occur any time you bring your camera from one temperature extreme into another; for instance, from the frigid air of the Arctic into the warmth of a heated room or under your jacket, condensation is likely to occur. To help prevent this condensation, before coming inside from the cold, remove your memory card (so you don’t have to wait to begin uploading images) and place your camera into a sealed plastic bag or into your zippered camera bag and let your equipment slowly become acclimated to the new temperature. It’s best to wait at least 30 minutes for your gear to slowly warm up to the new ambient temperature to avoid condensation.
Warning: Undefined variable $output in /home/itsjustlight/htdocs/www.itsjustlight.com/wp-content/plugins/wordpress-plugin-for-simple-google-adsense-insertion/WP-Simple-Adsense-Insertion.php on line 73
While you’re shooting outside in the cold, don’t change lenses if you can avoid it — this can introduce moisture into the camera body — you want to keep your camera and lenses as free from moisture as possible. A few drops of rain or snow on a camera or lens are unlikely to cause any immediate problems, but if they’re left to sit there for too long those water droplets can begin to seep into unsealed parts of the equipment, where they can cause issues. A dry, absorbent towel or cloth will come in handy in cold weather — even if you’re careful to avoid condensation, it can form simply from breathing on the LCD screen or even from the warmth of your eye near the viewfinder glass. To quickly wipe up the moisture, keep some microfiber cleaning cloths in your camera bag or pocket.

- Altura Photo professional camera rain cover protector for DSLR Cameras.
- Designed to protect and shield your small or professional camera gear and lens from rain, snow, salt...
- Camera cover rain made from high quality waterproof nylon with an ultra-clear viewing window. Great gifts...
- Rain cover for DSLR camera with dual adjustable sleeves and full-length double zipper provides access to...
Whether your camera is weather sealed or not, it’s a good idea to keep it as dry as you can with some rain gear. Camera raincovers like this one by Altura and this one by Vortex are both highly rated and should do a pretty good job of keeping your camera and lens reasonably dry. Keeping a small, dry towel or two handy will help to keep everything as dry as possible.
Keeping Warm while Shooting in Cold Weather
The most obvious tip for cold weather photography is to keep yourself warm. Cold photographers take fewer photos. If you’re busy shivering, you’re less likely to find inspiration in the landscape around you, but fortunately this is a problem that’s easily prevented by packing appropriately for the weather conditions you’re likely to encounter.
In cold weather, layers are the way to go. You can always take a layer of warm clothing off if you get too warm (you want to avoid sweating in cold temperatures), but if you’re cold and don’t have anything else to put on, that can mean the end of your photography fun.
While mittens are outstanding for keeping your hands warm, they aren’t very photography friendly. Gloves are the obvious solution for photographers who need to keep their fingers free to operate the camera controls. When buying a pair of gloves, consider bringing your camera along to see how well you can adjust the controls. In extremely cold temperatures, you might be forced to wear very thick gloves that make operating your camera next to impossible — when you want to take a photo, you’ll need to quickly remove one of the gloves, which is where a glove liner can come in handy. Glove liners are thin fabric gloves which you can use as a base layer before putting on thicker winter gloves. Glove liners help to keep sweat and moisture off your hands and offer an additional layer of warmth. Most importantly, a pair of glove liners allows you to take your hand out of a bulky winter glove to use your camera without forcing you to expose your hands to the open air.
Another option which photographers can use in moderately cold temperatures is a pair of gloves like those made by Freehands which allows you to expose your thumb and forefinger without removing the gloves — perfect for using touchscreens and carefully changing exposure settings.

- Thinsulate insulation for warmth
Loved this article? Go ahead and share it on Pinterest!
