We may earn a commission when you purchase through affiliate links. Learn more.
Few things can compare with the stunning beauty of a blazing sunset, but you may have found that taking a great photo of the sunset isn’t always a matter of just capturing the great colors. This collection of handy tips will help you take your photos of the sunset to the next level!
1. Shoot RAW instead of JPEG
While you can certainly take awesome sunset photos using the JPEG format, RAW has some major benefits and virtually every modern DSLR and mirrorless camera like the Canon T6i, Sony A7II, and Nikon D7200 offers RAW capture as an option. Even many smaller compact cameras like the Sony RX100 IV, Ricoh GR II and Panasonic LUMIX DMC-ZS40 offer the ability to shoot in RAW.
When you shoot in JPEG, the camera does the processing of the images using its own internal algorithms, but when you shoot RAW, not only can you make adjustments to basic settings like white balance, vibrance, saturation, brightness, and contrast, you can even recover details that would have been lost in the shadows and highlights of the photo.
When it comes to photographing a beautiful sunset, shooting in RAW can be especially useful since it allows you greater freedom to adjust the colors and contrast so that your photo looks as amazing as the real sunset did.

2. Anchor Your Shots with an Interesting Foreground or Background
A common beginner mistake when it comes to sunset photography is to just point the camera at the sky without considering the composition or including anything but the clouds and colors in the frame. The vibrancy of the orange, pink, and red sky might take your breath away in person, but it’s important to consider how you compose a photo so that your image carries the same impact for people looking at your pictures.
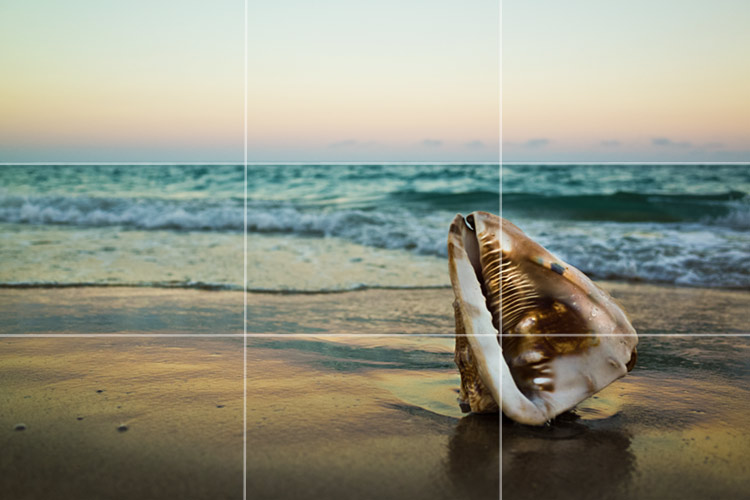
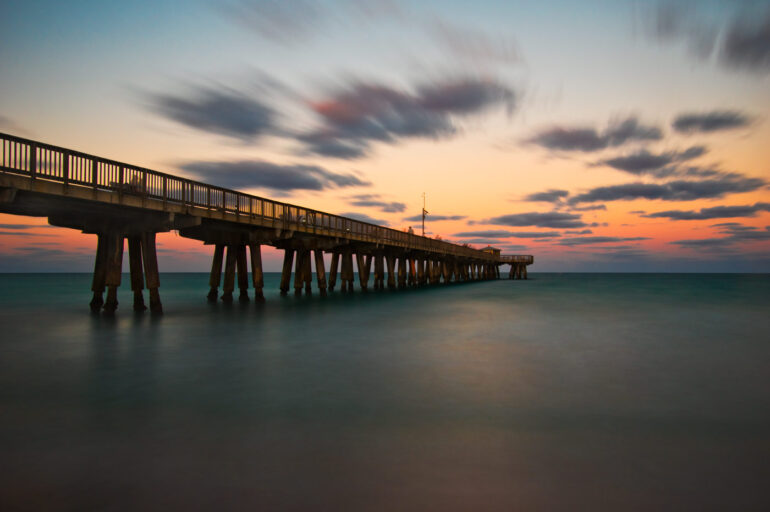
Giving your photos a focal point like a mountain range, a fishing pier, or a rocky shoreline adds visual interest to your scene and helps to give your viewer a point of reference that adds impact to a shot. Consider the Rule of Thirds when composing your photo — it’s often (but not always) better to place your focal point and horizon sightly off-center for the best result.
3. Double the Beauty with Reflections
If you’re near a body of water, like a river, lake, or even the ocean, you can capture an even greater display of sunset color reflected in the water. Shooting from a variety of angles can yield some unexpectedly good results. For instance, if you’re photographing the sunset from the beach, getting down close to the wet sand can reveal reflected colors that aren’t visible from a standing position. Try to shoot a mixture of both portrait and landscape oriented shots for the greatest variety!

4. Don’t Rely on your Camera’s Auto Mode
Sunset is all about the light, but with the exception of sunrise there’s no other time of day when the lighting conditions change as quickly. Being familiar with the exposure variables of ISO, Shutter Speed, and Aperture will help you make adjustments to keep your images looking great.
At sunset the sky is still bright, while the lower angle of the sun means the ground will be much darker — this extreme contrast can be difficult for your camera to meter, and if you leave the decision making entirely up to your camera you may find your images frequently have overexposed skies with blown highlights.
5. Give Graduated Neutral Density Filters a Shot
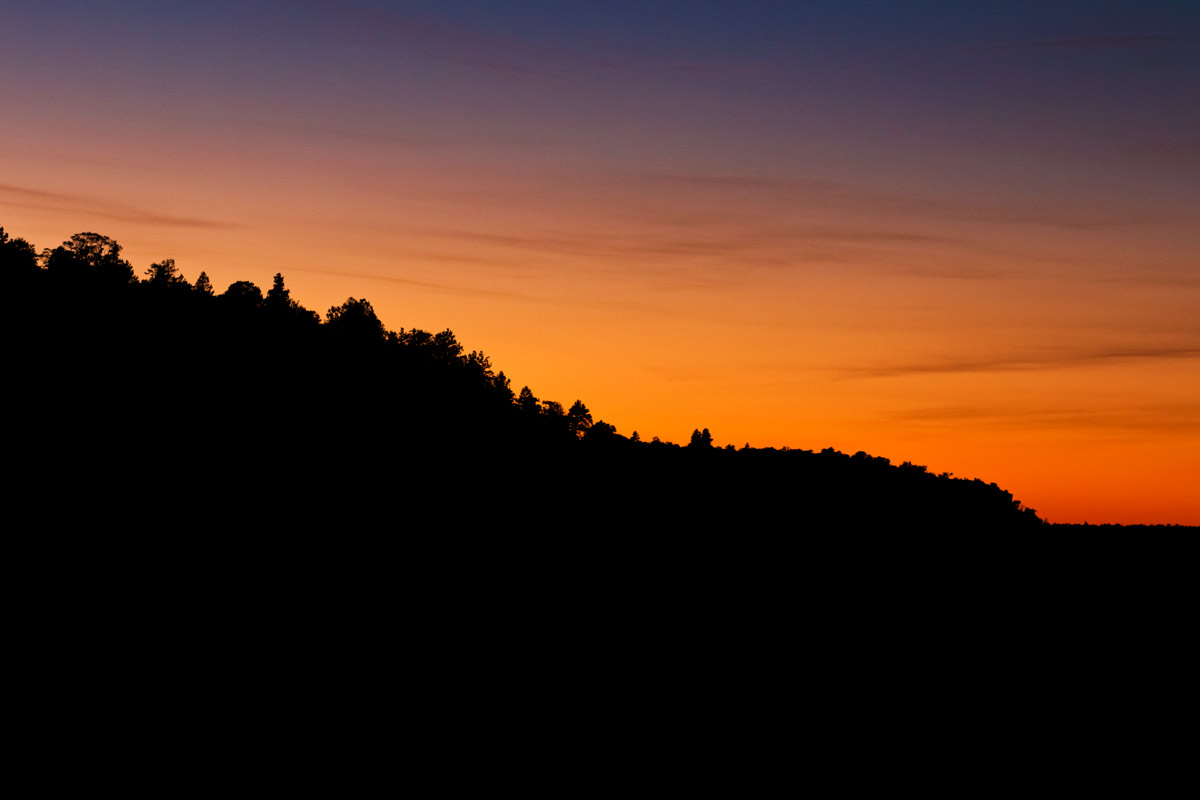
Sunset can be a great time to use a graduated neutral density filter. These filters have a gradual distribution of darkness, with one half of the filter being darker and the other half being transparent, and a gradual area in between. Sometimes silhouettes are just what you want, but for the times when you want an image with an evenly exposed sky and landscape, graduated ND filters are perfect for sunset photography.
A graduated neutral density filter or Grad ND does the trick, allowing you to selectively darken part of the scene. While these filters come in the circular variety, you’ll have the most flexibility with square graduated neutral density filters which will let you position the darker part of the filter where you want it, rather than directly in the middle of the lens.
6. Check your Camera’s Histogram
Getting properly exposed photos can be pretty difficult at sunset since the light is rapidly changing. You might think that your images look great after reviewing them on your camera’s LCD screen, but this isn’t a reliable indication of proper exposure, and you might find that you’ve actually got blown highlights in the sky when you look at your photos later on a computer screen.
To really evaluate the exposure in your photography and ensure that you haven’t lost any details in the highlights and shadows, you’ll want to check the histogram which charts the distribution of tones in your photos, from dark black shadows on the very left to bright white highlights on the far right, with midtones in the center. If you spot a high spike somewhere on the histogram, that tells you that there are a lot of pixels of that particular tone and if the spike is pressed against the right edge of the histogram, this can tell you that you’ve got overexposed areas in your image.
7. Don’t go anywhere!
When you think that the best colors of sunset are over, sometimes they’re just beginning, so don’t pack away your camera gear until it’s really getting dark. There’s often a pause of several minutes where all of the color fades from the sky only for incredibly intense colors to return as the sinking sun lights up the clouds that are higher in the sky.

