We may earn a commission when you purchase through affiliate links. Learn more.
There’s nothing that I love more than travel, and when I’m on a trip I like to document every part of it — including my flight. Getting great shots from the window of an airplane flying at 500 knots isn’t always easy, but with a bit of preparedness, you can get some amazing photos that show the magical experience of travel and the beauty of the landscape below.
1. Book a Window Seat and Decide how you want your Photos to Look
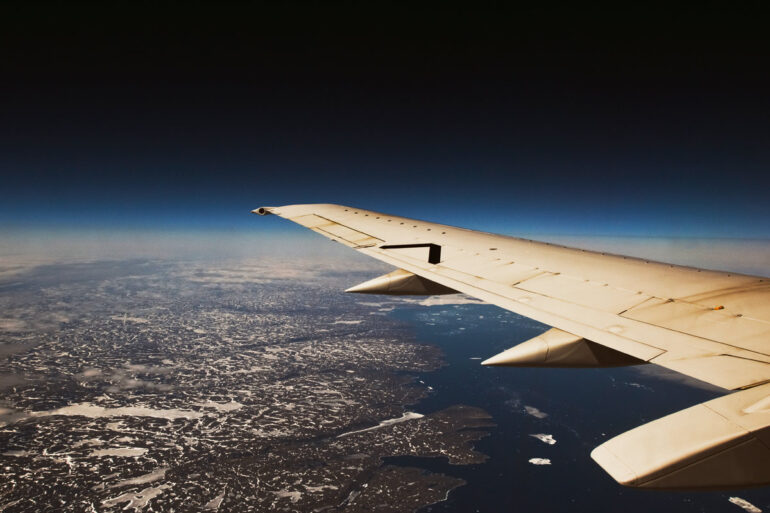
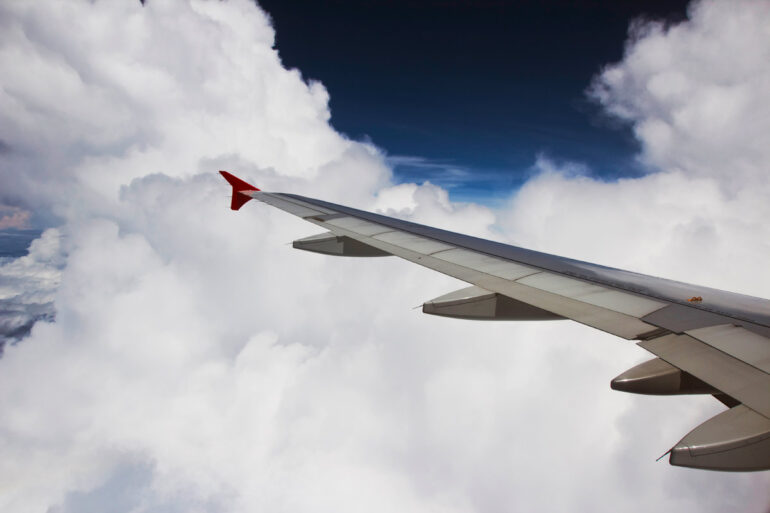
This is probably the most obvious bit of advice, but sometimes even obvious things are worth repeating. If you want to make sure that the airplane wing and engines aren’t in your shots, you’ll want a shot as close to the front of the plane as you can get. Personally, I often like including the wing in my flying photos, since I think it gives the viewer a sense that they’re right there with you on the plane.
2. Pick the Best Spot
When deciding which side of the plane to book your window seat on, take a look at your flight route and time and see which side the sun will be on. If your flight departs at 4pm and is flying north, this means that if you’re on the left side of the plane you’re going to be shooting into the sun, which will make it tough to get properly exposed photos.
3. Know your Exposure Settings
Because your camera can’t tell that you’re flying through the air at hundreds of miles per hour, letting your camera choose the shutter speed is likely to result in blurry photos. I find that wide angle lenses like the Canon EF 16-35mm f/4L IS USM and Canon EF-S 10-22mm f/3.5-4.5 USM or the Nikon AF-S 16-35mm f/4G ED VR II and Nikon AF-S DX 10-24mm f/3.5-4.5G ED work really well for photos taken from airplane windows — the wide field of view allows you to capture as much of the landscape and scenery below as possible. Depending upon speed and altitude and the lens I’m using, I typically use a shutter speed of around 1/640-1/1200 and an aperture of f/8. The closer you are to the ground or clouds that you’re photographing, the quicker you’ll need your shutter speed to be, since the movement through your frame becomes more pronounced.
For instance, if you’re photographing a mountain in the distance from an altitude of 35,000 feet, the mountain will stay in your field of view for a long time — several minutes perhaps, and if you’re using a wide angle lens you can get away with a relatively slow shutter speed. If you’re at a lower altitude and the mountain is much closer though, it will remain in your field of view for a much shorter time, meaning you’d need to use a quicker shutter speed to prevent motion blur.
 4. Clean the Airplane Window before Takeoff
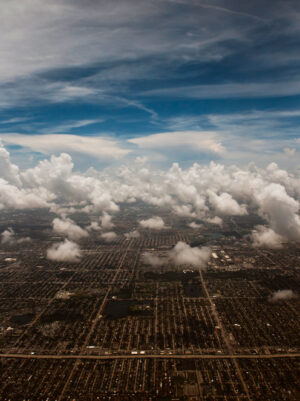
Airplane windows are made for looking out of, so it’s no surprise that they’re usually covered with nose-smudges and fingerprints. If you’ve got a cloth in your bag, like this Zeiss Jumbo Microfiber Cloth, give the window a quick wipe-down to get it as clean as possible before you start taking pictures. The fewer smudges and spots on the window that you have to shoot through, the sharper your images will be.
5. Use a Shoulder & Wrist Strap
When turbulence suddenly strikes or if the plane banks sharply, the last thing you want is for your camera to go flying out of your hands. A shoulder strap like the BlackRapid RS-2 Sport 2 and a wrist strap like the Joby DSLR Wrist Strap can help you keep control of your camera. If you’re in heavy turbulence, you’re better off just stowing your camera in your under-seat bag, and of course if the flight crew asks you to put it away at any time, follow their instructions.
 6. Don’t use a Polarizing Filter
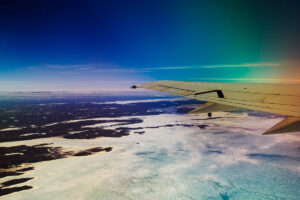
Thanks to a phenomenon known as birefringence, the plexiglass panel in airplane windows splits light into two rays, making it impossible to use a polarizing filter without getting very unusual rainbow colors in your photos. Of course, these rainbow patterns can actually be very pretty and unique, so you might want to experiment with this unique effect for a few shots, but don’t forget that you’ve got your polarizing filter still on — it can sometimes be difficult to see the rainbow effect on your camera’s LCD screen but you’ll definitely notice it once you upload the photos to your computer!
7. Plan your Shots in Advance
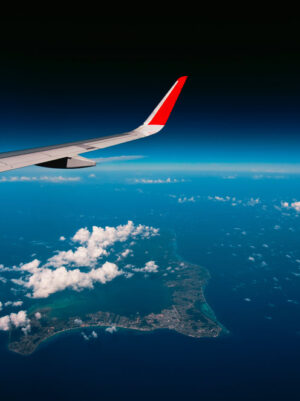 Websites like FlightAware enable you to look at the route your flight will take; take a look at the map in advance and see what natural features you’ll be flying over and which side of the plane they’re likely to be visible from.
For instance, if you’re booked aboard a flight from San Diego to Chicago that might mean that you’ll be passing just to the south of the Grand Canyon — now there’s a great photo opportunity! Because you’ll be flying at several hundred miles per hour, depending upon how close to the canyon you are you might only have a minute or so to make the most of the photo opportunities as you race through the air overhead. Many modern airliners have video display screens with a real-time map that shows where you are — this can be a great way to keep track of when you’ll be coming up on interesting landmarks.
8. Avoid Glare, Reflections, and Scratches
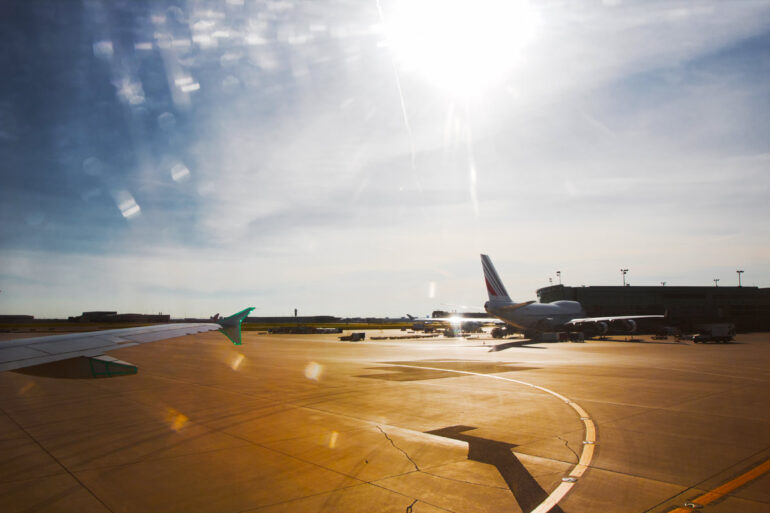
Some airplane windows have taken a lot of abuse over the years and are covered with scratches and scuffs — you can minimize the appearance of these scratches in your photos by placing your lens close to the glass and not shooting into the sun. Because the aircraft engines cause lots of vibration though, you’ll want to avoid actually resting the lens against the glass to keep your photos as sharp as possible.
Using a lens hood can help you reduce the reflections and glare on the glass, especially if the windows on the opposite side of the plane are open. If you don’t have a lens hood, you can use your hand to cup the lens and block the reflections — just watch out for thumbs in your shots! Condensation and ice tends to form along the edges of the window first, so keep your lens in the center of the glass to avoid these blurry areas.
9. Get Creative with Ice Crystals
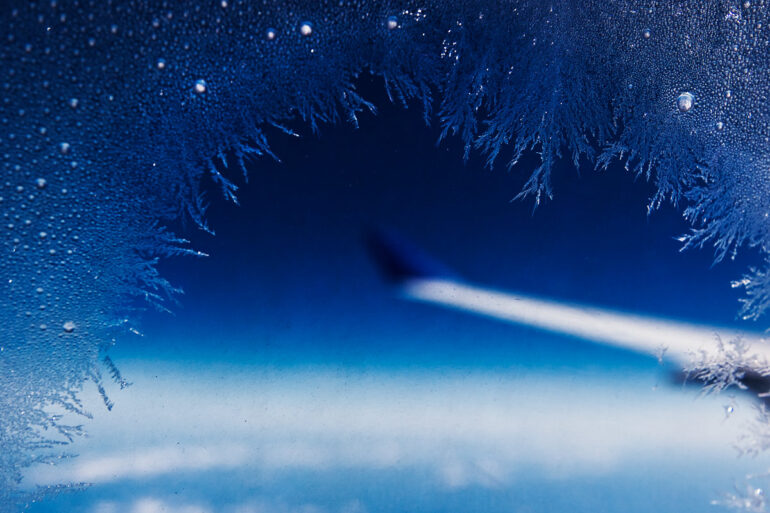
Condensation often forms and then freezes on the inside of airplane windows while cruising at high altitudes where the outside air temperature can reach temperatures as low as – 67°F. These ice crystals can obstruct your view of the ground, but they also make for a beautiful photo opportunity as delicate crystal structures form and melt as the aircraft changes altitude.

 4. Clean the Airplane Window before Takeoff
 6. Don’t use a Polarizing Filter