We may earn a commission when you purchase through affiliate links. Learn more.
If you’re taking a photo of something white — let’s say you’re shooting a photo of a white dog, the odds are good that you’d like the dog to look white in your photo. It might seem like a silly thing to even say, but what if the dog is standing under a streetlight that casts a warm yellow light, turning the dog’s fur a warm shade of yellow? Unless you want the white dog to look like a yellow dog in your photo, your camera has to figure out what’s going on.
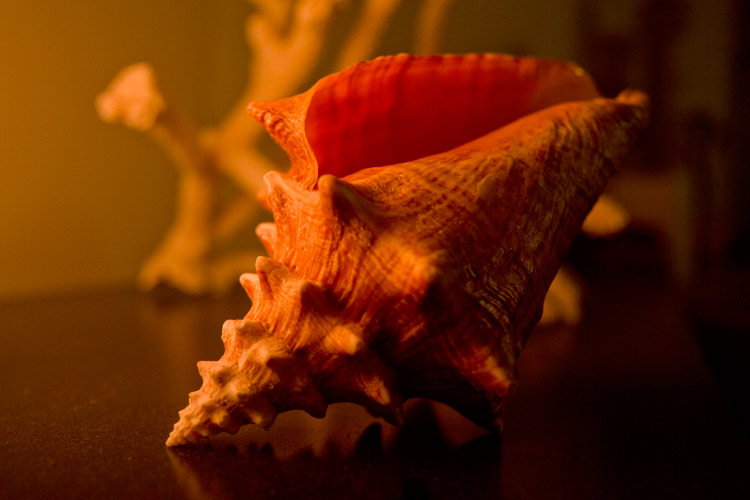
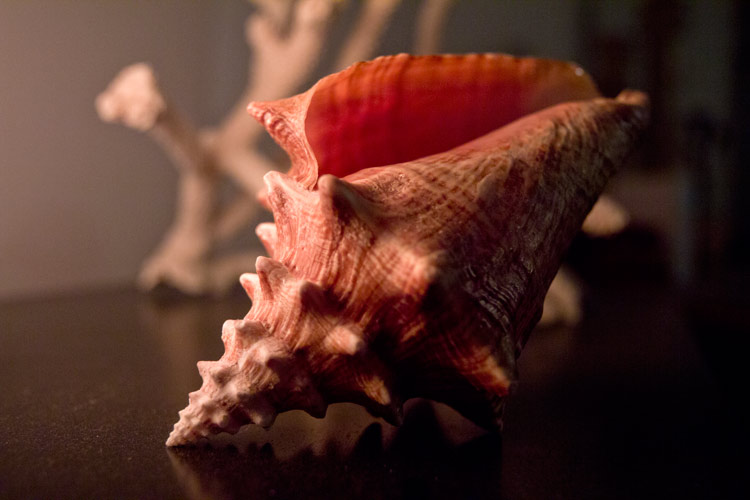
In order for white objects like that dog in our example to look white in your photos, the camera has to use what’s called White Balance to adjust the color tones. By default, digital cameras use Auto White Balance, which analyzes the light in your scene and does its best to render white objects as white. The tone of the light is measured in color temperatures, which tell us whether the light has a warm or cool tone.
The warm or cool property of light is known as color temperature, and this is expressed by the temperature measurement known as Kelvin, abbreviated as K. Cool colors which generally appear to have a cooler blue tint are considered those over 5,000K and warm colors which have a warmer yellow tint are considered those under 3,000K. Different light sources illuminate a scene with a different color temperature.
Overcast Afternoon or Shade: 6000-7000K
Direct mid-day sunlight: 5200-5500K
White Flourescent Lighting: 4000K
Incandescent Lighting: 2800K
Candlelight: 1800K


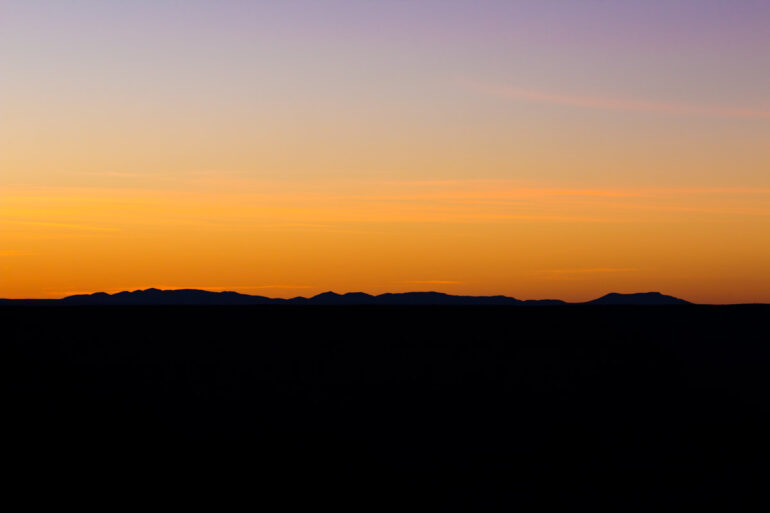
Most of the time Auto White Balance does a pretty good job, but sometimes your camera just can’t read your mind and doesn’t render the colors of the scene the way you wanted it to. Let’s take photography during sunset for example: As humans, we appreciate the beautiful warm orange, pink, and red tones that make our photos come alive, but the camera might see these colors of light that we love and try to remove the color cast they give our photos.
To help account for common situations like this, most digital cameras have several white balance presets that you can choose from like daylight, shade, or fluorescent lighting. Using one of these presets will give your camera a better idea of whether your scene is lit with warm or cool light. Sometimes though, you’ll need to fine tune your white balance manually by selecting what color temperature you want the camera to calculate white with.
Some scenes can be improved by modifying your camera’s white balance manually, to artificially warm or cool the tones in your shot. For example, if you’re photographing a friend indoors in a room that’s lit by a cool white LED bulb, you might want the lighting to appear warmer — setting your camera’s white balance setting to a cool temperature setting like 6500-7000K will give your shot a nice warm glow.

If your camera offers it as an option (and virtually all DSLR and mirrorless cameras do), shooting in RAW can really help to improve your photos. When you shoot in Jpeg, it’s incredibly important to have your white balance set properly for each scene, because your camera throws away all of the unused exposure information from the sensor. Changing the color temperature of your Jpeg photo using photo editing software can usually be done, but it’s not going to provide the same results as you’d get if you had the white balance set properly in camera.
With RAW, on the other hand, all of the light information is saved in the much larger file and you can change the white balance later using your editing software without degrading the quality of your photo. For truly limitless processing options, shooting RAW is the way to go!
