We may earn a commission when you purchase through affiliate links. Learn more.
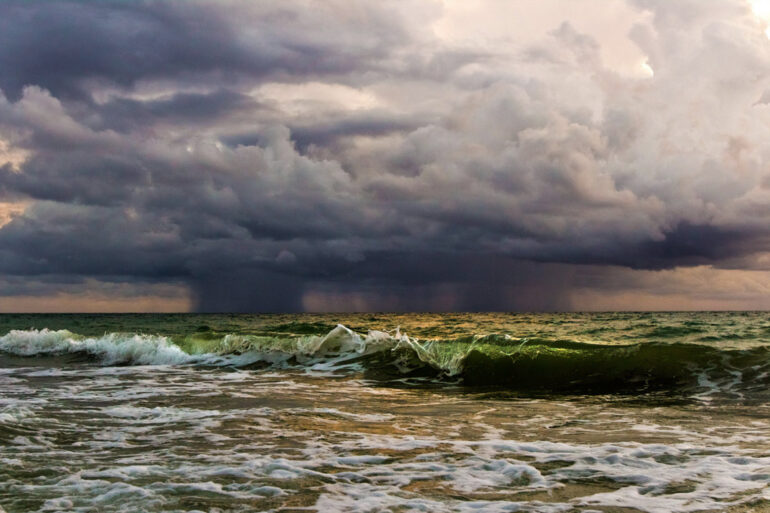
Waves are some of the most amazing things in nature. They’re both beautiful and powerful, reminding us of the strength of the sea. To get great photos of the crashing waves, you don’t need to be a professional surf photographer with twenty thousand dollars of gear. In this short guide I’ll share a few tips that will have you taking beautiful wave photos in no time. Because waves move quickly, you’re going to want to use a digital camera that offers full manual exposure control. A DSLR or an advanced point and shoot will work perfectly – you just need to be able to use a very high shutter speed to freeze the movement of the waves.
It should go without saying, but the water is wet – wet cameras make great paperweights, but they’re not good for much else. If you’re taking your camera into the surf, you’re going to want to protect it from the waves. Even if you don’t submerge the camera at all, the salt spray can be enough to corrode the internal circuitry. Hard underwater housings for DSLR cameras are the best option if you’re going to be diving with your camera – they offer the best protection, but can be very expensive. If you don’t need to dive into the depths and will mostly be standing in the shallow water, a much cheaper alternative that offers very good protection from the water are soft cases from manufacturers like AquaPac and DiCAPac.
Get Low & Go Wide
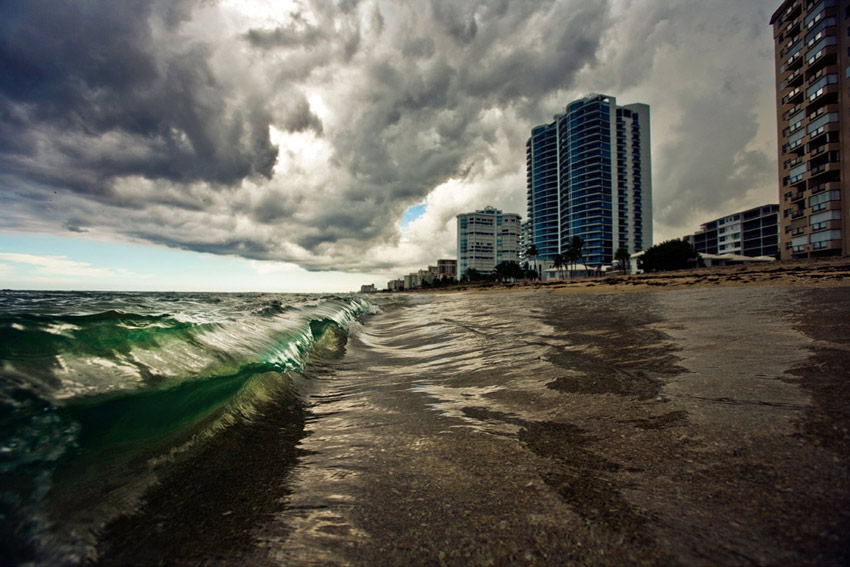
Wave photos taken from a lower angle are far more impressive – even a small wave suddenly looks big when you’re taking the shot from below. A wide angle lens like the Canon 16-35mm f/2.8 or Nikon 10-24mm f/3.5-4.5 is a perfect choice for photographing the surf – instead of only capturing a small part of the wave in your frame, you’re able to get the whole wave in your shot, making for much more visually appealing shots. Experiment with different angles to see how the light interacts with the water. Using a circular polarizer filter on your lens will help to cut down on glare off the water and it will also darken your sky, giving you a much nicer looking shot.
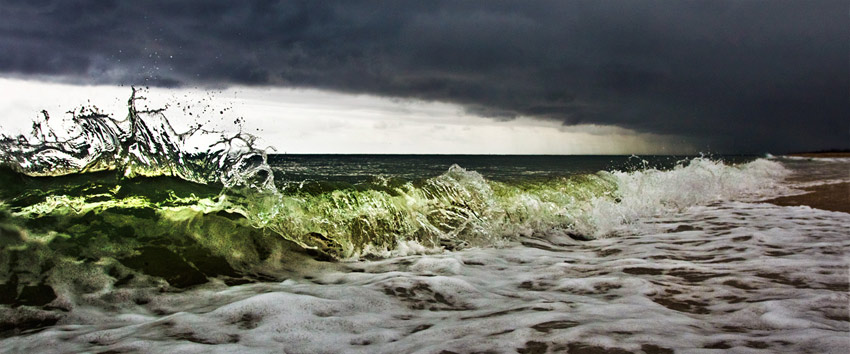
Timing is Everything!
Those peaceful waves lapping at the shore may not be moving at tsunami speeds, but they’re still fast, especially when photographed at close range. To freeze their movement and capture the splashing water droplets frozen in the air, use a fast shutter speed. When shooting from the shot, shutter speeds as low as 1/250 may be enough to suitably freeze the motion of the waves. When you get right up next to them though, little details are more easily seen and motion blur is more evident — at a close range, 1/500 second should be your minimum shutter speed to avoid motion blur. If the light will allow it, try a shutter speed of over 1/1000. Because moving waves are difficult to focus on, using a faster f-stop will increase how much of your shot is in focus, so try to find a nice compromise between a fast shutter speed and a high f-stop. Experiment with your camera’s autofocus modes to see which works the best for you. AI Servo / Continuous Focus is designed to keep a moving object in focus, but some camera’s autofocus systems can handle the difficult job of focusing on water better than others. If your camera’s autofocus isn’t doing a very good job, try picking a spot to focus on and setting your focus manually. When the wave reaches that point, snap your shot!