We may earn a commission when you purchase through affiliate links. Learn more.

The sky is an endless source of photographic inspiration, offering up daily doses of changing atmospheric conditions and beautiful colors. One of the most beautiful but potentially dangerous natural phenomena to photograph is lightning. While your odds of being struck by lightning are pretty slim, at 1 in 1 million in the US, there is a remote but significant risk if you’re outside during a lightning storm. An average of about 39 people are killed each year by lightning in the United States and an additional 240+ are injured by it each year. No nature photograph is worth dying for, so stay safe, don’t push the limits, and have fun!
How to Photograph Lightning
Keep your Camera Steady
Every single thunderstorm is different and the lighting conditions will vary by location, time of day, and the intensity and frequency of the lightning strikes. While some photographers use lightning triggers to fire the shutter when a flash is detected, the easiest way to photograph lightning is to use a long exposure time, allowing the shutter to remain open for several seconds at a time. The longer your shutter is open, the more noticeable camera shake is going to be in your photos – you’ll need to find a way to keep your camera steady. While budget conscious photographers successfully use very creative methods for keeping their cameras steady, a good tripod like the Benro Travel Angel or any of the tripods you’ll find in our tripod guide here will be invaluable for keeping your camera immobile since wind often accompanies lightning. With a fast exposure of 1/250th during the daytime, a tiny bit of camera shake isn’t likely to make a difference, but with a long exposure of several seconds while photographing lightning, even a tiny bit of vibration caused by the wind or an unstable surface can cause your photo to be blurry. You won’t get that many opportunities for great shots during a storm, so you’ll want to make every shot count. With your tripod set up and your scene composed, you can make use of an intervalometer or remote so that your camera can continue capturing the action while you’re safely inside — just make sure that your camera is protected and weighted in case it starts to rain or gets windy.
For additional safety, you can shoot from inside your vehicle using a car window mount that clamps to the window or door frame like the kind often used by bird and wildlife watchers and photographers to stabilize cameras and spotting scopes.
Use a Long Exposure
While I was out photographing lightning a few nights ago, my neighbors were trying unsuccessfully to capture a nice shot of the amazing show. Their attempts to snap a photo the instant they saw the lightning were simply not working. To maximize your chances of getting an amazing photo of lightning strikes, a long exposure works best. While long exposure photography used to be something that very few compact cameras could do in the past, many advanced compacts like the Ricoh GR II, Sony RX100 V, and Panasonic LUMIX ZS100 allow for full manual exposure control. If you’re new to photography and want to learn more about how exposure works, head over to our exposure tutorial.
Set your Exposure and Focus Manually
Cameras are great at figuring out many lighting situations and focusing accurately on distant subjects, but lightning is not one of them. To take good shots of lightning, you’ll want to set your exposure settings manually. Depending upon the ambient light, an exposure time of 5 to 30 seconds will allow you to increase your chances of getting that amazing shot you want. An intervalometer makes this task easy, tripping the shutter for you automatically, so you don’t have to keep pressing it. You’ll want to take a few test shots first to figure out the best exposure settings, reviewing your results on the LCD.
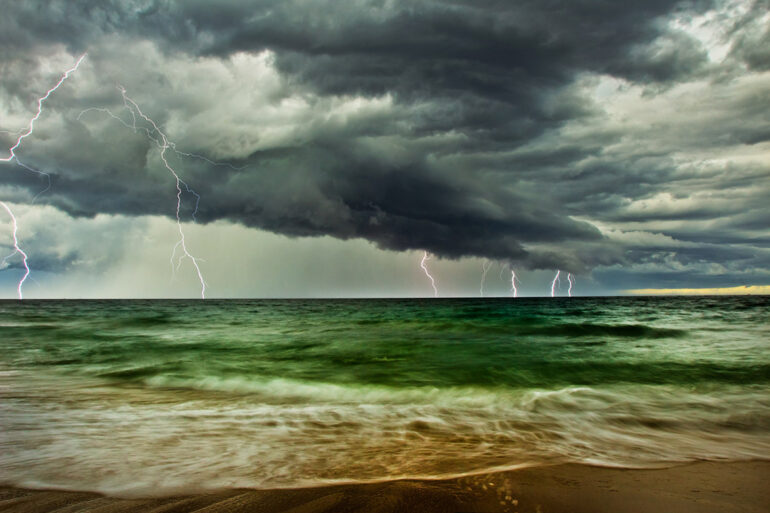
There is no magic exposure combination that will always give you perfect lightning photographs, but as a general rule of thumb, the lower your ISO the less noisy your images will be. When photographing lightning at night, I often start with ISO 200 or 400, and a shutter speed of 5 to 10 seconds. Shorter exposure durations like 5 seconds are ideal for capturing very sharp images of single bolts of lightning — longer durations of 30 seconds or more are ideal for creating photos that contain multiple lightning strikes, or when the lightning is very infrequent and taking a shot every few seconds isn’t practical. Your F-Stop will depend upon your ISO and shutter speed, but somewhere around f/8 is a good place to start. Before you start shooting, set your focus point manually as well so that your lens doesn’t try to search for focus after every shot you take. Setting the focus to infinity won’t always give you sharp images with all lenses – if there is a light in the distance, try focusing on that. Be sure to zoom in on your LCD screen to make sure your first shot is in focus and adjust as necessary to make sure that the lightning in your shots will come out crisp and clear.

Include Plenty of Sky in your Frame
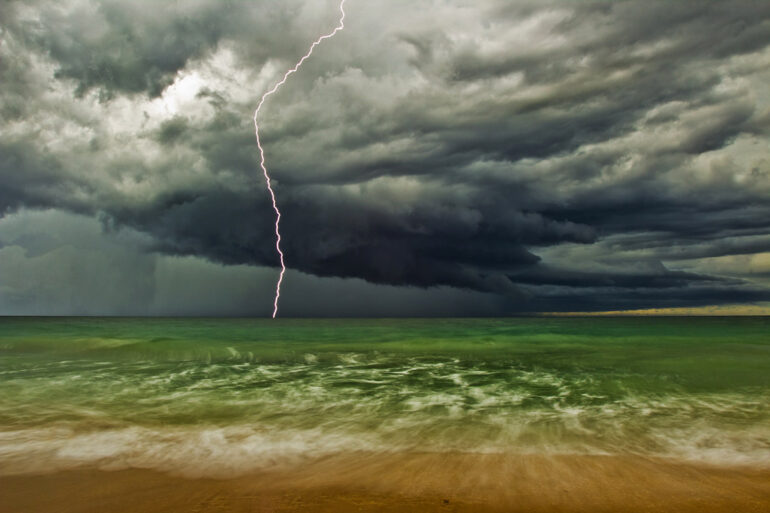
A common sense rule that merits repeating is to make sure you have plenty of sky visible when composing your shot. There might not be any lightning when you trigger the shutter, but you want to make sure you capture the entire lightning bolt when it does appear as well as the ground or ocean when the strike makes contact.
Choose an Appropriate Lens
Lightning can be unpredictable and in a large storm it’s not unusual for lightning strikes to occur miles apart. With huge storms like this, a wide angle lens is one of the best ways to make sure you don’t miss any of the action. A lens like the Canon 16-35mm f/2.8 L, the Nikon 10-24mm f/3.5-4.5G, or the Sigma 20mm f/1.8 EX are some examples of good, fast wide angle lenses that will allow you to capture an expansive scene.
For storms where the lightning seems confined to one part of the sky or when the lightning is far in the distance on the horizon, a telephoto lens might be a better choice. Some examples of lenses that might be suitable for distant lighting are the Canon EF 200mm f/2.8L or the Nikon 70-200mm f/2.8G.
Consider the Composition
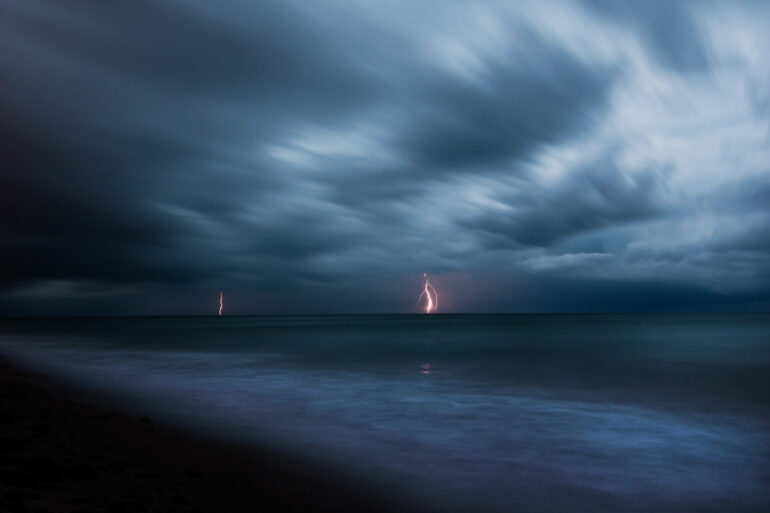
If the lightning in your photo is far in the distance, don’t hesitate to crop your photo to make the lightning the main focus of your image. Before you start shooting though, compose your shot so that there aren’t any distracting elements visible like powerlines. Simplicity can be a great thing and I really like the minimalist look the example photos have, but it can also be nice to include a point of reference silhouetted in the shot like a building or tree. Be creative! (And safe)


