We may earn a commission when you purchase through affiliate links. Learn more.
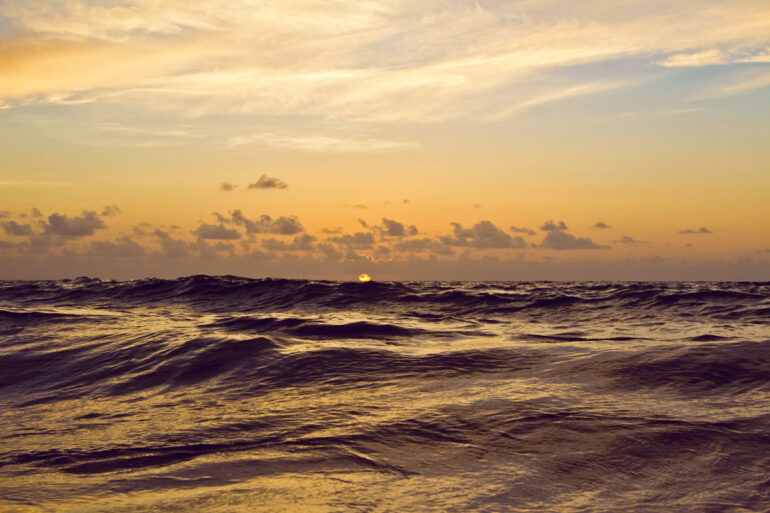
We’ve all seen our share of sunrises and sunsets, but few have paused to contemplate just why exactly the sky seems to explode with color as the sun rises up to and over the horizon and then sinks below it in the evening.
Sunlight appears white in color, but contains a spectrum of colors from violet to red. When the sunlight interacts with particles in the atmosphere which are much smaller than the wavelength of visible light, an optical phenomenon known as Rayleigh scattering takes place. During the process of Rayleigh scattering, light is scattered in various directions. The colors with shorter wavelengths like violet, green, and blue are scattered more strongly than orange and red which have longer wavelengths.
Thanks to this effect, the sun typically appears yellow when seen from the earth, since the shorter wavelengths are scattered into the surrounding sky. During the sunrise and sunset though, when the sun is low on the horizon, the light passes through more air. The additional atmosphere the light has to travel through means that more molecules are present to scatter the violet and blue light, but the red, orange, and yellow colors with their longer wavelengths are able to reach your eyes. In fact, when the sun is low in the sky, the Rayleigh scattering effect is increased, removing nearly all of the blue light from the path to your eyes.
Once the Rayleigh scattering removes the blues and violets from the direct rays, the reddened sunlight which remains is then affected by Mie scattering, during which the sunlight is scattered by larger particles suspended in the air, such as cloud droplets or air pollution. The light affected by Mie scattering colors the horizon in red and orange hues – without the scattering, the sky along the horizon will have only a dull red appearance, with the majority of the sky appearing blue and occasionally green.
Red sky at night, sailors delight.
Red sky at morning, sailors take warning
This well known rhyme might be easily dismissed as superstition by those who have never heard of Mie scattering, but while the navigators of the past may have lacked the modern scientific knowledge we have today, they got this one right. Caused by larger particles in the atmosphere like cloud droplets, Mie scattering helps to produce the vibrant red glow in the sky we sometimes see at sunrise and sunset. Storm systems tend to move eastward, due to the west to east rotation of the earth. A red sunrise can be an indication of an approaching storm, arriving from the west, while a red sunset can indicate that the storm is to the east and moving away from the viewer.
Now that we’ve covered the science behind the vibrant colors of sunrise and sunset, here are some tips for taking great photos during these times.
1. Go Location Scouting During the Day
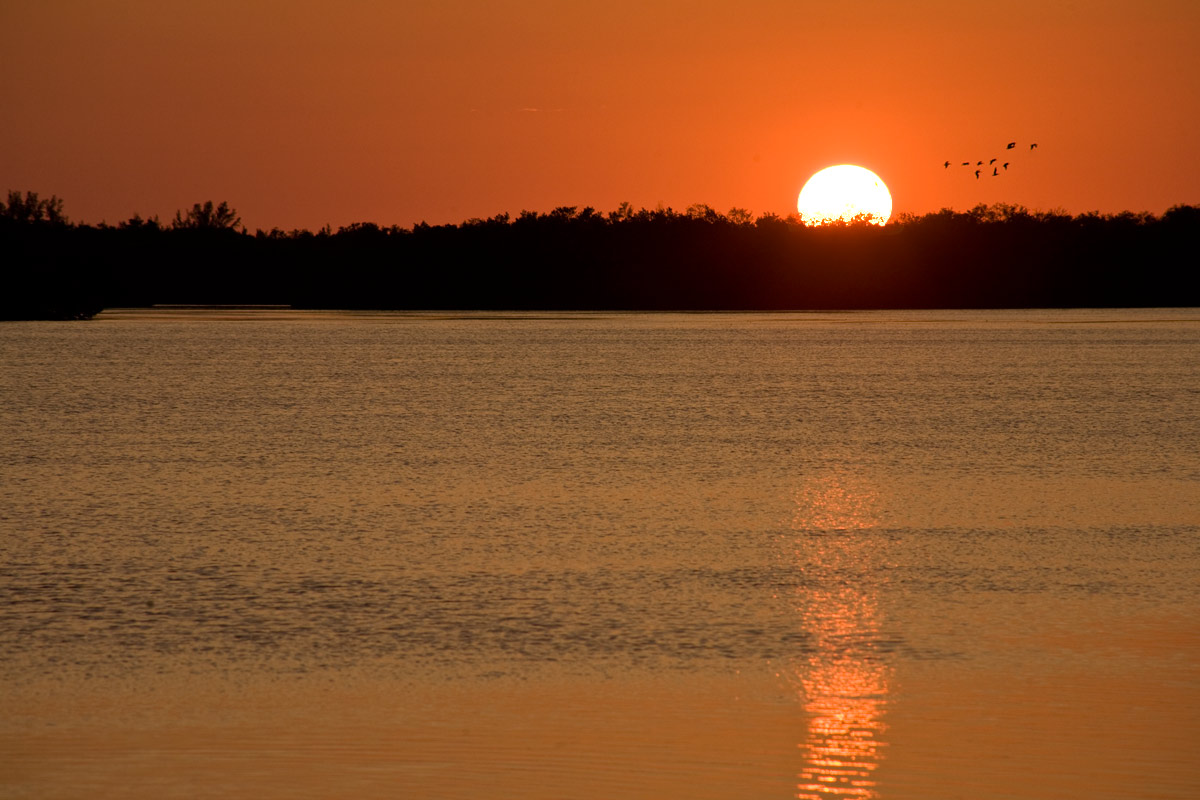
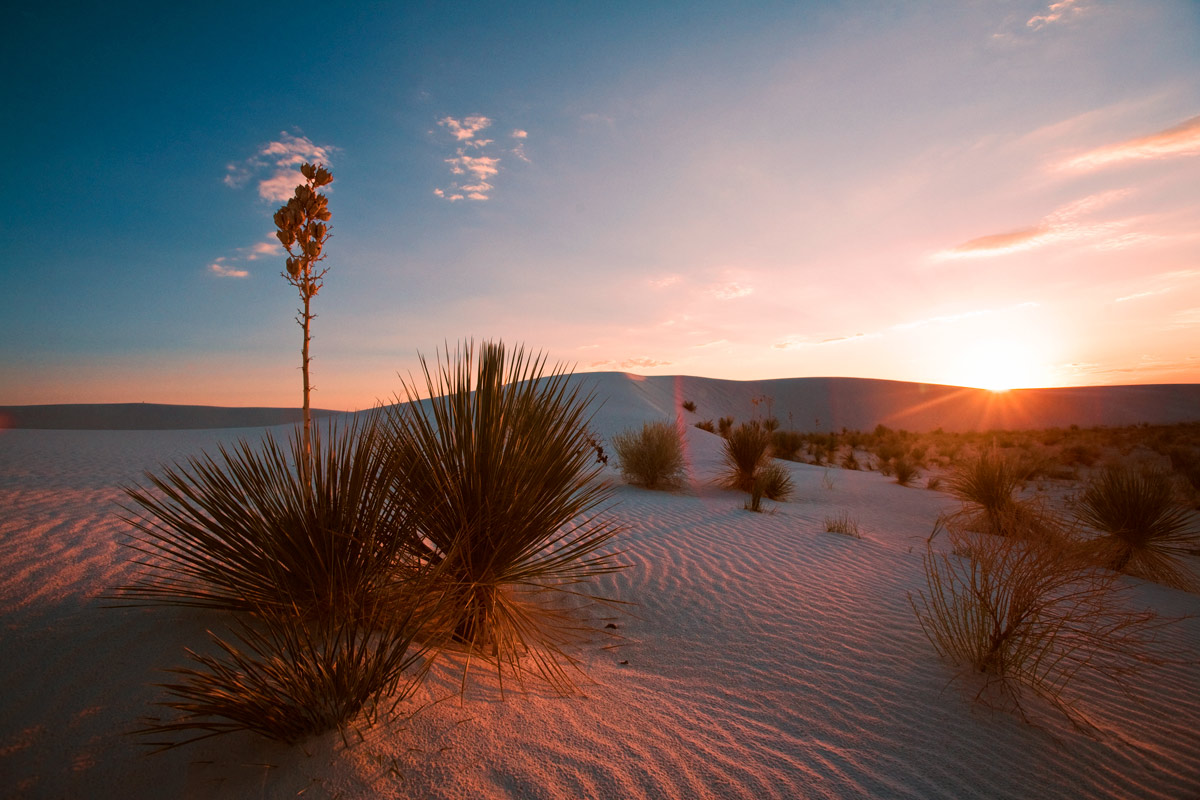
Use the daytime to scout out the best locations for photographing the sunrise or sunset. A photo of a colorful sky at sunrise or sunset is certainly pretty, but having a subject can really strengthen your shot. In the beautiful golden light, even city streets can take on a magical appearance! Bodies of water, both large and small, make for great additions in sunrise and sunset photos wherever you are, since the water will reflect the beautiful colors in the sky.
The more familiar you are with your equipment, the easier it will be to make exposure changes while the sun is rising or setting and you don’t have the luxury of lots of time to figure things out.
2. Shoot RAW instead of JPEG
95% of the time shooting in RAW is the best way to go — photographing the sunrise and sunset is no exception. Because it can be so easy to overexpose and underexpose shots taken during these times, being able to recover tonal information in post processing is really important. With a JPEG file, that information in the bright highlights and dark shadows is discarded to keep the file size smaller — if your sky is overexposed in a JPEG photo, there’s not a whole lot that you can do because that overexposed area has no detail to be recovered. When you shoot RAW though, you’re able to recover quite a bit of detail in underexposed and overexposed areas of your photos, and can often save a photo that would have been a total loss if it had been shot in JPEG.
Straight out of camera, sunrise and sunset photos often lack contrast and look a bit flat and not as vibrant as they appeared in real life. Shooting RAW allows photographers to easily modify the while balance, add contrast and adjust the vibrance and saturation of the image. Don’t go too overboard with the colors — it can be easy to get heavy handed when adjusting the vibrance and colors.
3. Check your Histogram
Your camera’s histogram make it easy to spot under and over-exposure in your photos. A histograms displays the tones of your image on a graph, with dark black shadows on the left and bright white highlights on the right. The higher the graph goes at any point, the greater the number of pixels of this tone are in your image. If you see a steep rise at the far right or left of your image, you’ll know that you’re losing details to the highlights or shadows.
Warning: Undefined variable $output in /home/itsjustlight/htdocs/www.itsjustlight.com/wp-content/plugins/wordpress-plugin-for-simple-google-adsense-insertion/WP-Simple-Adsense-Insertion.php on line 73
If this sun is still in your photo, you’re going to experience some overexposed highlights no matter what — the sun is bright — but we want to minimize this as much as well can to get a well balanced shot. Our histogram tutorial will explain exactly how to make use of this powerful tool.
4. Use a Tripod or Monopod
A tripod or monopod is great to use when photographing the sunsets because it allows you to use a slower shutter speed as well as a smaller aperture if you want to increase the depth of field. Using a slower shutter speed means that you can utilize a lower ISO, which will help to reduce the noise that often comes with shooting in low light conditions. If you’re using a telephoto lens, camera shake at slower shutter speeds can become especially noticeable in your shots, making a tripod or monopod a necessity. Even an inexpensive tripod like the Slik Sprint Pro II can help keep your camera and lens very stable for low light photography.
5. Don’t Forget to Remove Polarizing Filters
If you’ve got a polarizing filter on your lens, don’t forget to remove it before sunrise or sunset. Circular polarizers are great filters to use to help saturate colors and improve contrast during the day and eliminate reflections on water and glass, but at sunrise and sunset, they won’t help improve the colors in the sky and they can actually block 1-2 stops of light, something you definitely don’t want while shooting in low-light conditions since it may force you to use a shutter speed that’s too slow or a high ISO that introduces too much noise.
6. Don’t Leave too Soon
Don’t put away your camera too quickly — sometimes the sunrise and sunset is over quickly, but there are times when the colors can fade away, only to return five or ten minutes later, long after you thought the best part of the show would be over. This is especially true if there are clouds very high in the sky, which can be illuminated by the rising sun before we see it or by the setting sun long after it slips below the horizon. Stick around a bit longer and it might just pay off! Make sure to look behind you too — sometimes the most spectacular colors can sneak up on you.
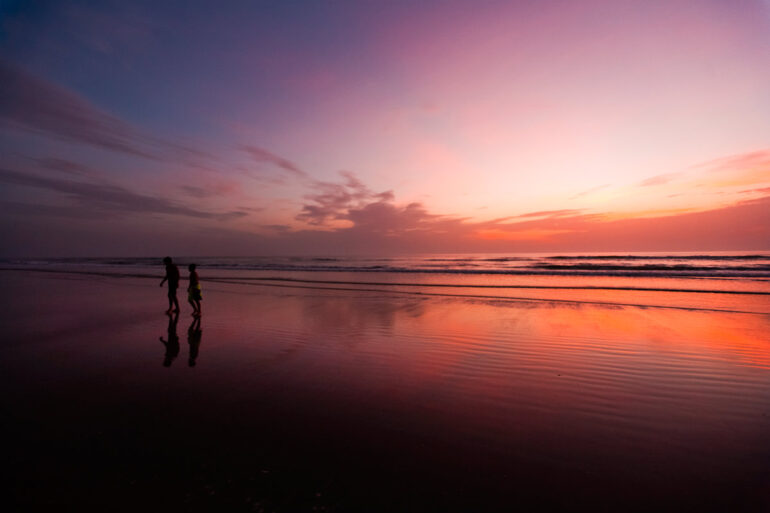
7. Capture Reflections on Water
Oceans, lakes, and rivers make for excellent places to photograph sunsets — not only is the sky above lit up with amazing colors, but these colors are often reflected in the water below!
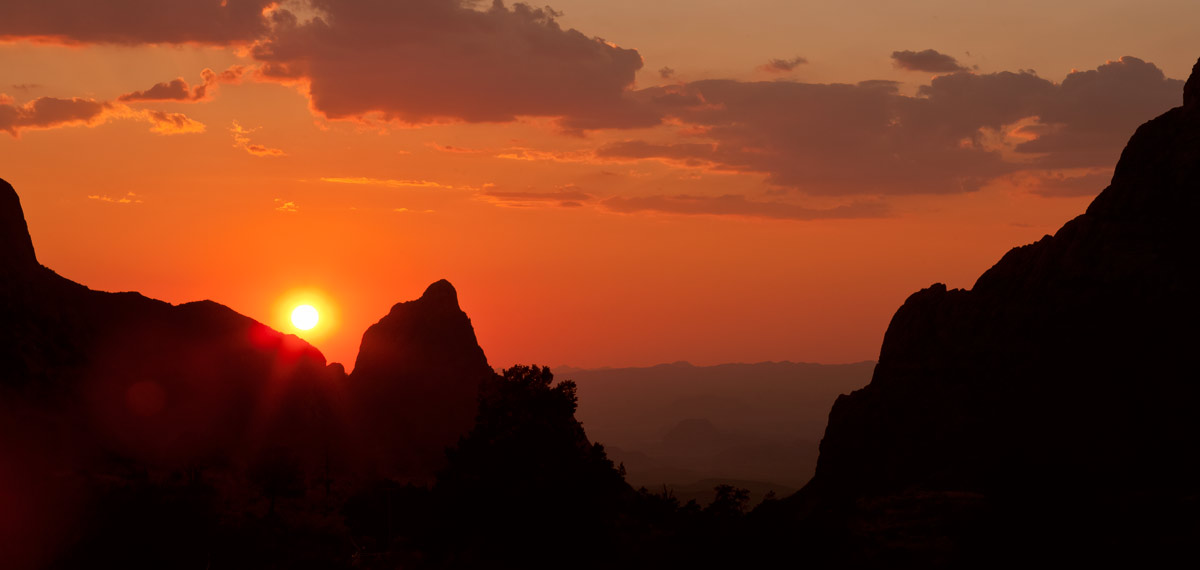
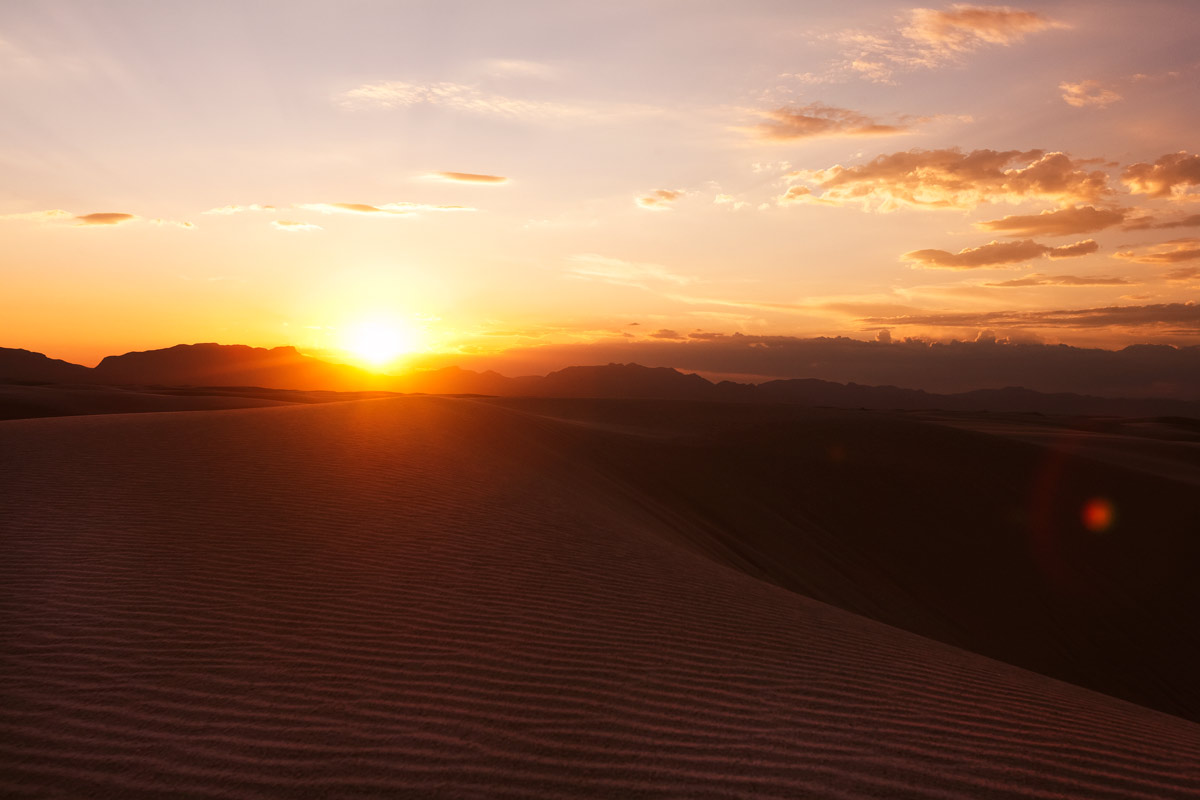
8. Watch out for Lens Flare
Lens flare can add a creative element to your sunset photos, but sometimes its undesirable. If you’re shooting into the sun, make sure to review your images after taking them to make sure your scene isn’t obscured by a large lens flare.
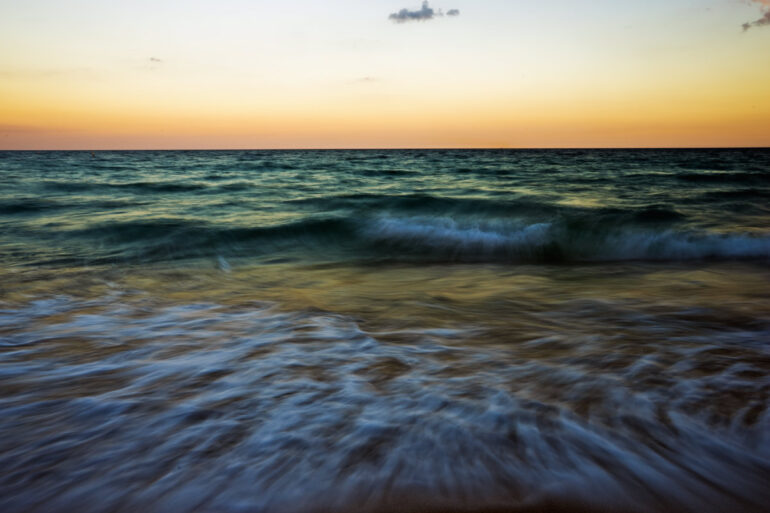
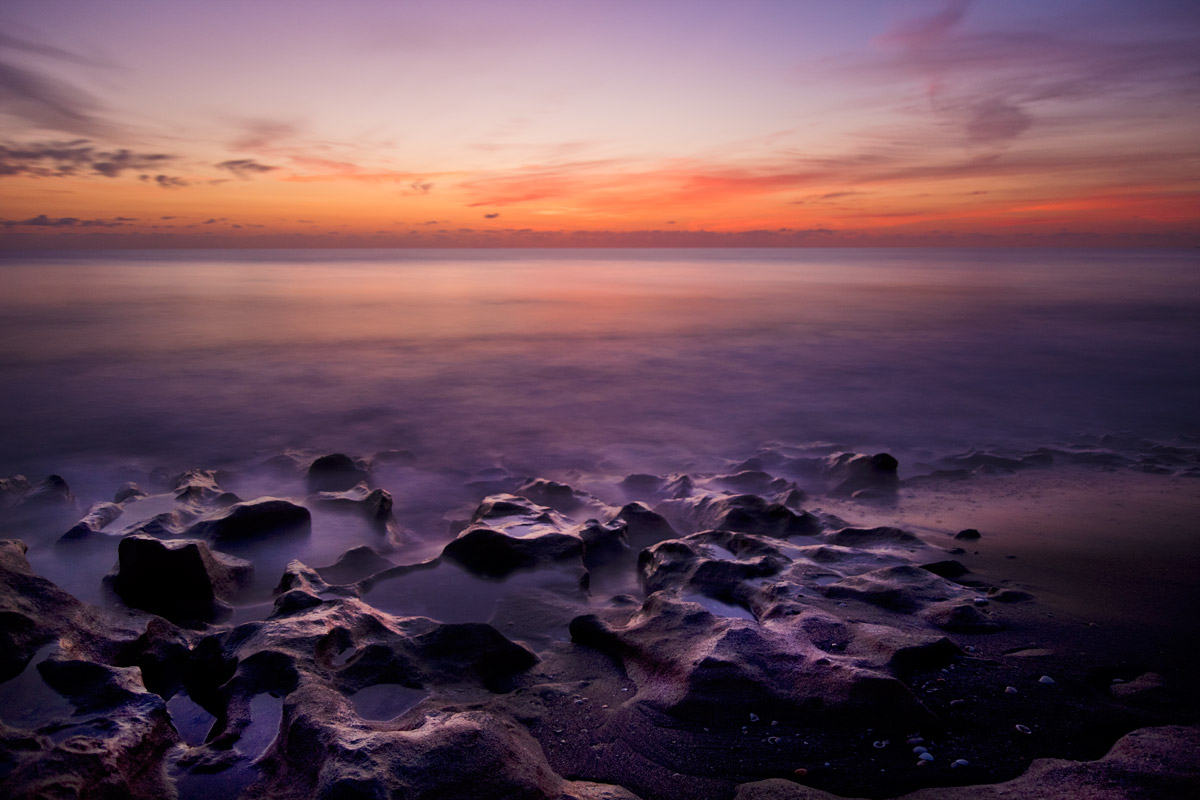
9. Experiment with Long Exposure Photography
Long exposure photography involves using a longer exposure time than you normally would use to freeze action. By using a long exposure you can smooth out moving elements in your photo like clouds, waves, crowds, etc… At sunrise and sunset, you’ll find that using a shutter speed of 1/2 a second or more can really create a unique look in your photos.
If the sky is still bright, you’ll need to avoid overexposure by either lowering the ISO, reducing your aperture by increasing the f-stop, or by using a neutral density filter to decrease the light’s intensity. You can learn all about shooting long exposures at sunrise & sunset in this daytime long exposure tutorial.