We may earn a commission when you purchase through affiliate links. Learn more.

As virtually every underwater photographer can tell you, their first attempts at underwater photography probably resulted in blurry photos. The underwater world is a pretty unfamiliar one for most people, especially photographers used to shooting on land. The aquatic realm is a fascinating place, filled with amazing sights, but it also introduces numerous photographic challenges to contend with. The deeper you go, the less light you have to work with, and as we all know — getting properly exposed photos, especially sharp ones, depends upon the light.
Far denser than air, water absorbs much of the visible light spectrum at relatively shallow depths. In even 10-20 feet of water, you’ll notice that underwater images look blue and green, with red and orange tones very muted. In deeper water, red and oranges colors disappear nearly entirely, since these wavelengths of light are absorbed the quickest.
Let’s look at how you can prevent blurry photos underwater:
1. Keep Your Camera Still
We’ll start with the most obvious cause of blurry underwater photos, and that’s your own movement. If you’re a SCUBA diver, you’ll remember the importance that your dive instructor placed upon neutral buoyancy, your ability to remain motionless in the water, hovering above the bottom.
When it comes to underwater photography, good buoyancy control is essential! Less camera movement means that you can use a slower shutter speed, allowing more light to reach your camera’s sensor. If you’re shooting in lower light with an underwater action cam like the GoPro Hero5 Black or a waterproof compact camera, and you’re using the cameras automatic exposure settings, the camera will compensate for the lower light by using a wide aperture, a higher ISO, and a longer exposure time. If you’re shaking around, trying to stay in one place, you’re going to end up with blurry shots.
If you’re snorkeling or freediving, neutral buoyancy and steadiness are more difficult to achieve. If you’re swimming down to the bottom to photograph a coral head, wait to take pictures until you’ve composed the shot and are able to hold the camera as still as possible. Try to keep you fins still – you want to remain as motionless as possible, especially if you’re shooting close-up macro images. Even when photographing more distant underwater subjects, if you begin taking photos while you’re still moving, the photos will end up blurry unless your shutter speed is fast enough to compensate for your own movement.
You may see some divers – even experienced ones – grab onto the reef to steady themselves before taking a photo. Don’t do this! Living organisms like coral polyps populate the reef and a misplaced hand can damage what took eons to grow. Practice neutral buoyancy and remaining motionless in the water – practice makes perfect!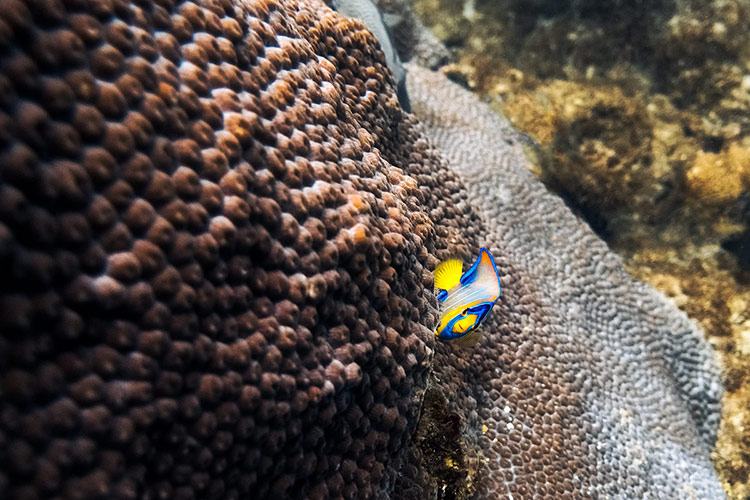
Warning: Undefined variable $output in /home/itsjustlight/htdocs/www.itsjustlight.com/wp-content/plugins/wordpress-plugin-for-simple-google-adsense-insertion/WP-Simple-Adsense-Insertion.php on line 73
2. Don’t stir up sand and silt on the bottom
Nothing ruins the water clarity as quickly as a diver bumping the bottom with a fin. Sand and silt can easily create a thick cloud of murky water that makes focusing very difficult. Autofocus systems on digital cameras search for areas of contrast – the lower light levels found underwater are already challenging to many autofocus systems, but cloudy water reduces the contrast even further and can make it next to impossible to focus. Once again, steady control over your actions underwater is one of the most important factors in capturing sharp underwater photography.
3. Get close to your subject
On land, if you can’t see a mountain or building a mile away, you know that there’s a serious air quality issue that day. Underwater though, visibility is greatly reduced even when the conditions are perfect, both by the density of the water which prevents light from traveling as far and by the small, suspended particulate matter that clouds the water. In the same way that buildings on a smoggy day become more clear the closer you get to them, subjects underwater also become clearer as you get closer. If you’re photographing small subjects underwater, you’ll want to get very close to capture as much detail as you can and to ensure that you can accurately focus.
4. Shoot in RAW
Although not all waterproof compact cameras offer the ability to shoot RAW images, some do such as the SeaLife DC2000 and Olympus Stylus Tough TG‑4. If you’re using an advanced compact, mirrorless, or DSLR camera with a housing, you’ll find that RAW capture should be available on most models. Shooting in RAW retains a great deal of image data and rather than leaving it up to your camera to apply sharpening to an image, it allows you greater freedom to process the image yourself, applying your own sharpening, noise reduction, and color correction modifications – often with far superior results.
5. Turn up the brightness
As mentioned above, light is the critical ingredient in photography. Focusing is usually very easy if you’re diving in very clear, shallow water during the middle of the day in bright, sunny conditions, but if you limit your underwater photography to this very narrow set of circumstances, you’ll be missing out on plenty of photo opportunities.
To help add more light to your scene, ensuring sharper photos and revealing the natural red and orange colors that are typically lost in deeper water, you can use a strong continuous light or an underwater strobe setup.
6. Know your camera’s limits and modes
Some underwater cameras allow you to get incredibly close to your subject, while others have a more modest minimum focusing distance. Before you head underwater, you’ll want to find out what the focusing limitations of your camera are to make sure you aren’t shooting blurry photos caused by being closer than your camera can focus. Check out the user manual to find out if you need to switch your camera into macro mode before it can focus at its closest setting.
Every digital camera offers a variety of exposure modes and preset modes – you’ll want to get to know what these modes actually do, since not all of the modes will be appropriate for underwater photography. For instance, Aperture Priority mode lets you select the aperture you want to shoot at and leaves it up to the camera to determine the appropriate shutter speed. In bright sunlight, this mode may work well, but underwater where there’s less light to work with, it might result in shutter speeds that are too slow for capturing sharp images.